Showing posts with label baby. Show all posts

8.20.2012

Baby Gifts

Lately the days seem to be flying by.  Not sure if it's because it's summer or just because that's life.  My oldest child is starting kindergarten in a few days and though I'm really excited for her, it's also a huge change in our life.  I can't help feeling like before we know it, it'll be high school graduation. 
So in the midst of all the changes, I haven't been blogging too much.  I have some posts planned, but I'm trying to just enjoy the last few days of having my little girl at home. 
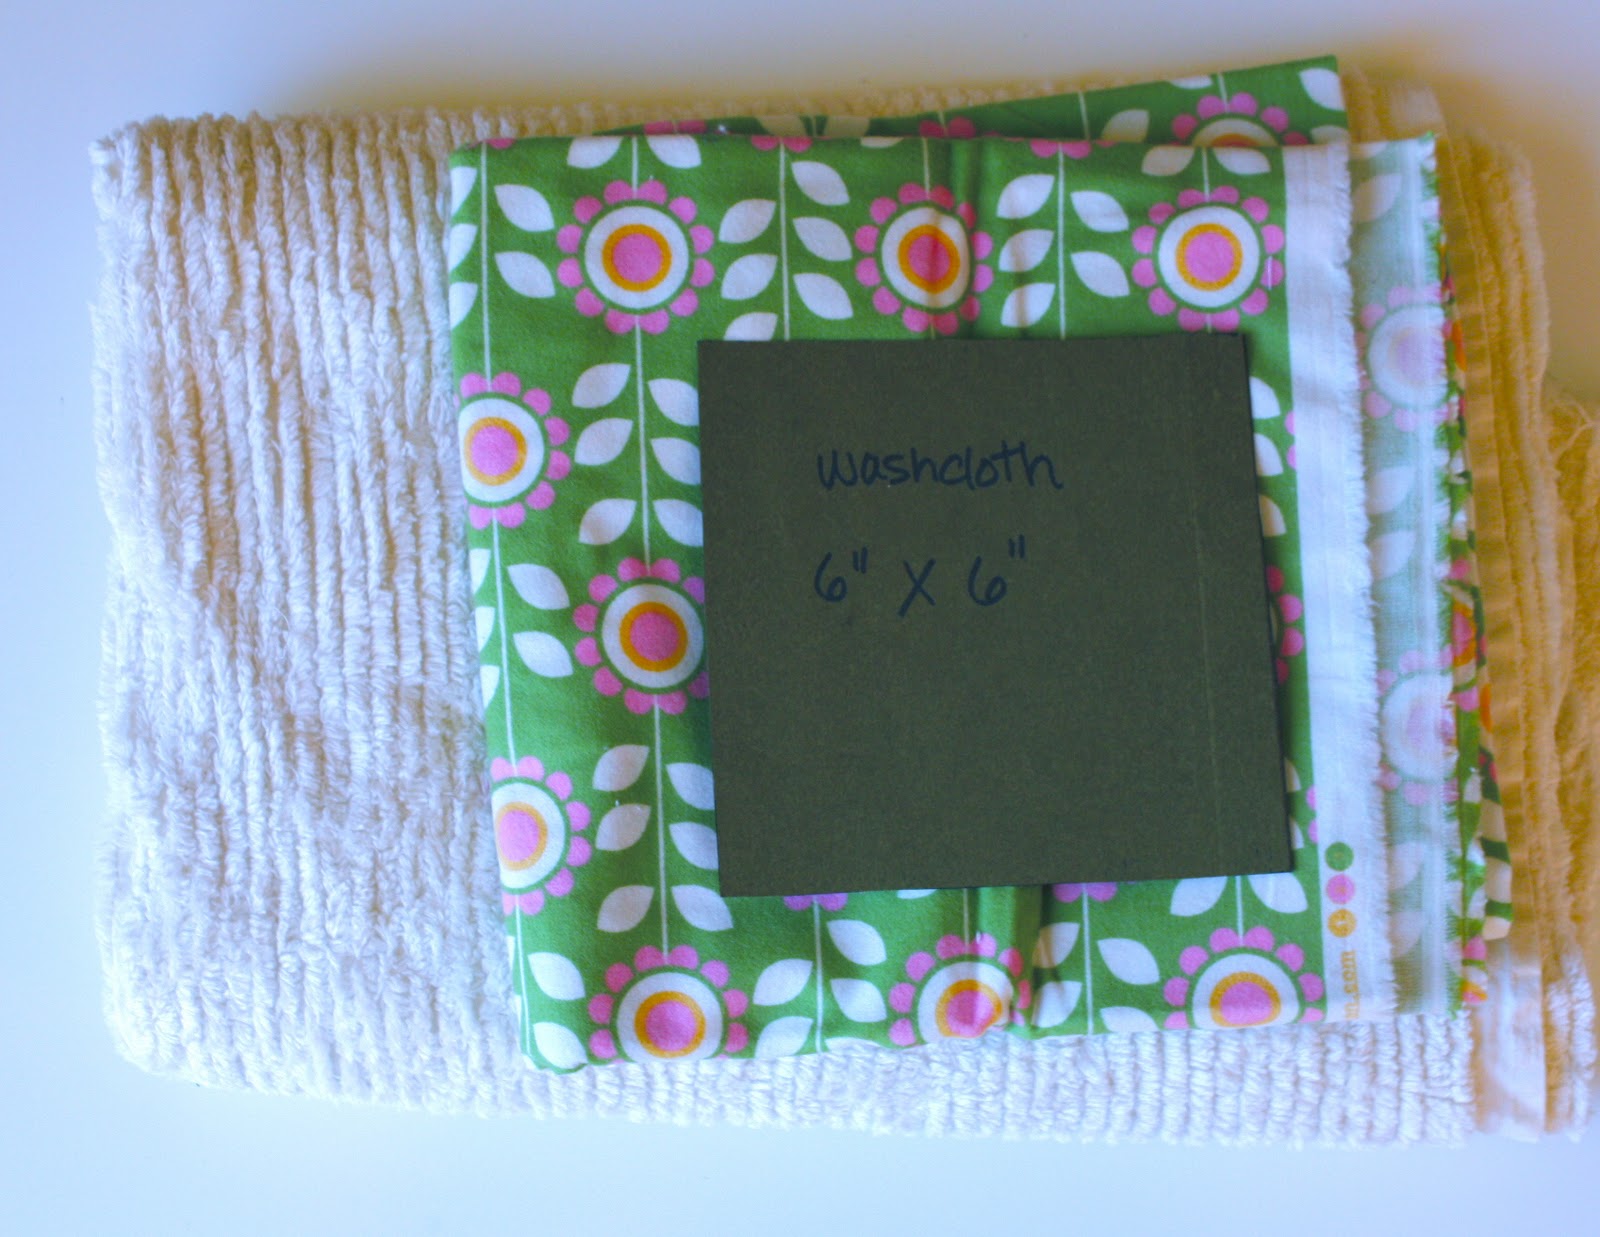
I also started listing some backpacks in my shop again, which there has been high demand for with school right around the corner.  This cute turtle pack was a commission from my neighbor.  It's for her sister-in-law who is expecting a new baby boy in a few months.  Since it will be a while before he can actually use it, I added a cute little bib and washcloth set.   
I got the idea to package the washcloths from Dana's burp cloth tutorial.  Definitely gives the set a nice look.


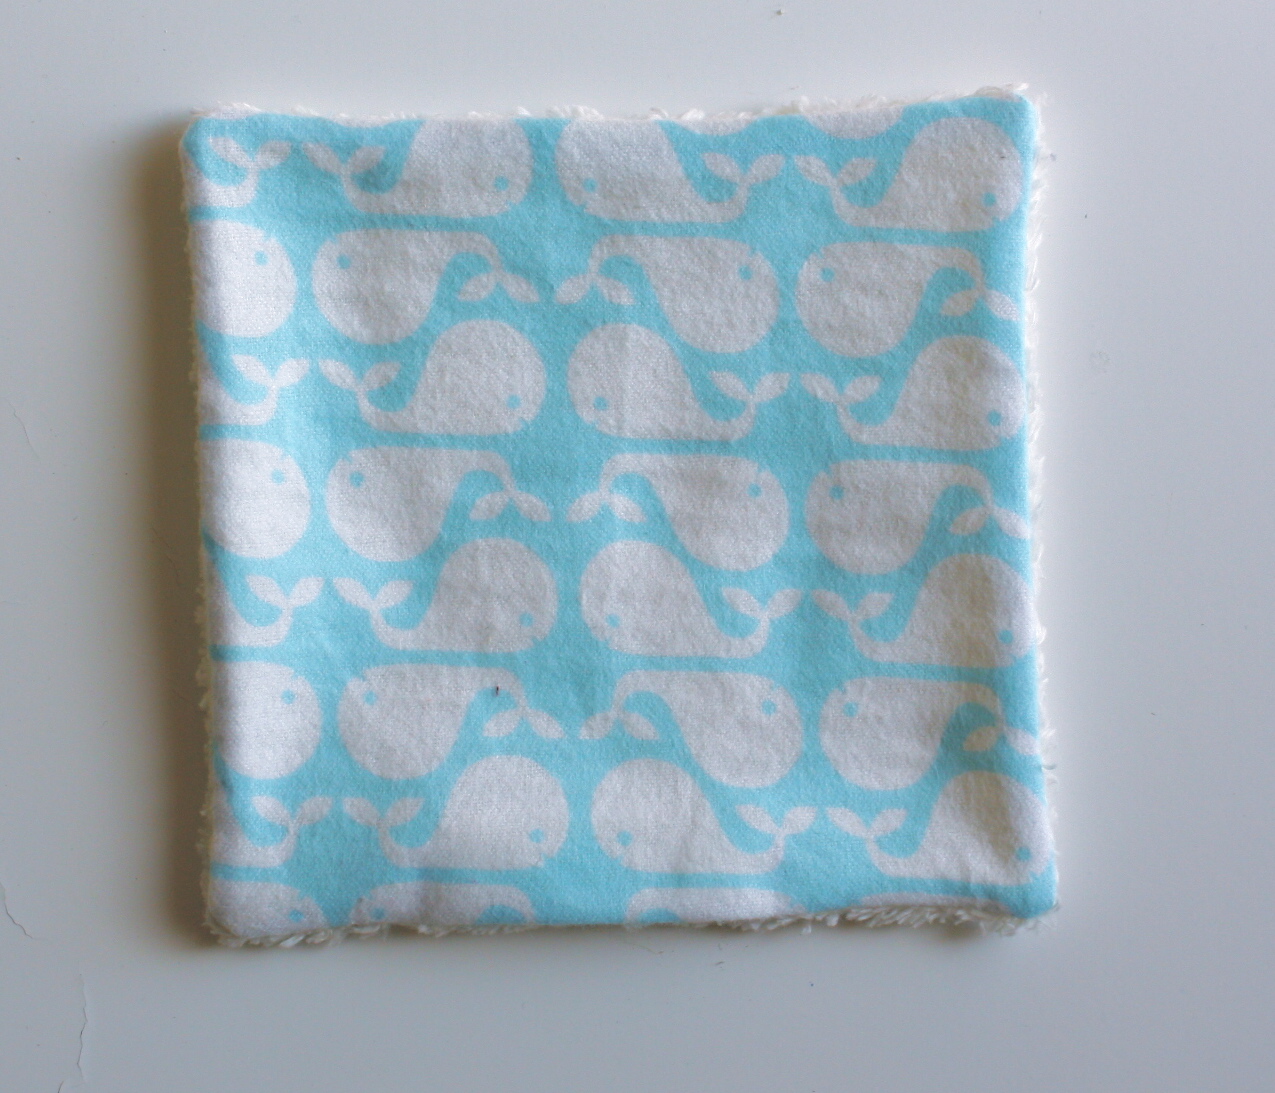
Another friend is expecting a baby in early October, so I made some cute bibs using my Scrappy Baby Bib Tutorial and some matching washcloths.

 I love the colors and the way it all comes together.  Perfect little baby gifts.

1.28.2012

Simple Washcloth Tutorial

I don't know about you, but we always seem to have a shortage of washcloths in our house.  We use them for everything from wiping counters to washing faces.  

This tutorial is more about inspiration and a little tip since sewing a washcloth is about as easy as it gets.
I used a 100% cotton chenille that I picked up on vacation and cotton flannel. 
I made a template from my stash of file folders, 6 inches by 6 inches square.
 Lay your fabric right side together and trace the pattern.  Here's the trick.  See those 2 blue lines perpendicular to the pattern?  That's the opening and you want to actually sew on those lines.  What this does is pull that seam allowance down and make it easier to sew that opening closed when turned right side out.
 Sew just inside your traced lines and trim.
 Turn right side out and press.  See how you can't tell where the opening was?
 Top-stitch around the perimeter.  I also folded the washcloth in thirds and sewed 2 parallel lines to keep the layers together better.
 Super easy!

How cute would these be wrapped up for a new baby?
Here's to easy projects!

10.17.2011

Something I've Been DYEing to Try

Now that the Halloween costumes are done, I've had some time to work on some more fun projects. As much as I enjoy sewing Halloween costumes, it feels like a lot of work, for one dark, cold night where (at least here in Massachusetts) chances are good you'll have to throw a coat on.

I've been hoarding onesies and fabric dye for a while now and finally got the courage to try it. I mainly followed Dana's instructions with a few modifications along the way.

I used Dylon permanent dye that I bought at Joanns. The only part of the instructions I followed was to add the salt. Here's what I did differently
  • They recommend 4 cups of water, I used about 8-10
  • I used more fabric than they recommend
  • I left the fabric in dye overnight instead of 45 minutes
  • After rinsing in cold water, I washed in the washing machine
  • I dried mine in the dryer. The instructions say to dry "away from heat"
I used a few different brands of onesies and definitely noticed a difference in the color absorption. I didn't pre-wash them though, which I've read can make a difference. I dyed maybe 30 onesies total and found that the Target brand worked the best (without pre-washing)

For whatever reason, I had the most trouble with the pink. By the last batch (the yellow) I felt like using enough salt and mixing a lot is key. The salt is supposed to help the fabric absorb the dye, so for the yellow I added more salt since I was using more water than recommended. I also mixed much more than I did for the previous batches and I felt like the end result was the best.


I also tried some woven fabric. I had a white fabric with white polka dots that you could hardly see. It dyed really well and I like it much better than before.

So fun, and much easier than you'd think!

4.06.2011

Not as original as I thought....

This past weekend, I had coffee with a friend and her daughter after swim lessons. I'd missed her birthday and wanted to make her a late birthday present. So, I made this little bag for wet bathing suits or other wet stuff (we both have potty training boys.....).


I'd never seen an actual tutorial for one and I thought I was being really original, so I made another, taking pictures as I put it together and started working on my own tutorial.

Then, yesterday I was poking around on Craft Gossip and came across this cute tutorial at The Polka Dot Umbrella.

Then a friend pointed out this one at A Lemon Squeezy Home.

So, I guess I'm not as original I thought. But, I can say great, creative minds think alike!

3.26.2011

Scrappy Baby Bib Tutorial


Who doesn't love a cute baby bib? I made these bibs to coordinate with some baby blocks I made for 2 friends who are expecting. Since I only had scraps of the fabrics left, I pieced them together to make a scrappy baby bib.

For my bibs, I needed my scraps to be about 8 inches by 20 inches. If you make a smaller bib, you'll need less.
Sew the pieces together the long way and press the seam open.

 Above photo should say, fold in half RIGHT sides together.  Sorry about that!
Trace your favorite bib. My favorite bib was a gift from my friend Roselee, and as you can see, has been well loved.Here's the best part, sew first, then cut. Make sure to sew just inside of your drawn line or you'll see the marker when you turn. Also make sure you leave an opening for turning.

Cut just outside of your seam and clip the curves.

Turn right side out and press.
Topstitch around the edge of the bib making sure you close the opening you left for turning. Add a closure, velcro or a snap works well.
Done! Paired with a baby soft block, this makes a great baby shower gift.

2.28.2011

Baby Soft Block with Ribbon Tutorial

These blocks are pretty easy to make and are a really great handmade baby gift. I made one for my nephew as a late holiday present, and one to coordinate with this baby blanket. Now, I have a tutorial to share with you! Here's what you'll need:

Fabric: I used 4 fabric squares that are 4x4 and 2 chenille squares also 4X4. You need 6 squares in total, and they need to be square. What you use for fabric and the dimensions are really up to you. I used the same concept to make some pattern weights, tutorial here.


You'll also need:
  • 4 pieces of ribbon about 2-3 inches each,
  • some kind of stuffing (I used polyester Fiberfill),
  • your sewing machine and thread
  • a hand sewing needle and some thread
Fold your ribbon in half, center and pin to one side of a fabric square.

Lay another fabric square on top and sew down the side with 1/4 inch seam.

Press seam open.

(you can also machine baste your ribbon in place first, as I did on the green square, below)

Repeat with the remaining 2 squares and 2 pieces of ribbon until you've got 4 pieces in a row with 3 ribbons sewn in.

On the first and last square, fold fabric over to the wrong side 1/4 inch and press. Attach the last piece of ribbon to one end of your fabric strip.

With right sides together and 1/4 inch seam, sew the chenille squares to the square in position C.

Now you need to start sewing sides together to form the block. It's a little hard to show this, but basically you will start by sewing side A to E and side D to E. It will look like this.

Continue sewing each side to the chenille squares in the same way. Trust me, it will make much more sense when you're actually doing it. When you get to the last side, stop your seam at the 1/4 inch fold you made before.

Here's what you'll have when you've sewn up all the sides, except the last side where you folded over 1/4 inch. You need to leave this side open for turning.

Turn your block right side out....

and fill.
Pull the last 2 sides together, match where you folded the fabric, and pin. Use a needle and thread to blind stitch the side shut.

So cute! I made this one to go along with a baby blanket I made for a friend which I posted here.

Have fun! Leave me a comment and a link if you make one. I'd love to see!