
 In all the years I've been sewing, I'd never heard of pattern weights until I saw them on Project Runway.....and I just started watching Project Runway this year! So, I decided I needed some and thought, I can make those! Little did I know that they would be a great addition to my sewing room for more reasons than one....
.......the kids love to play with them too!
 Here's how to sew some up for yourself.....or your kids.
All you need are some fabric scraps and some kind of bean for filling (and a sewing machine, of course....does that go without saying?). A ruler and rotary cutter are helpful but not necessary.
 Cut 6 fabric squares that are 2.5 x 2.5 inches. You can make them bigger or smaller if you want, but I found this size most doable and useful.
 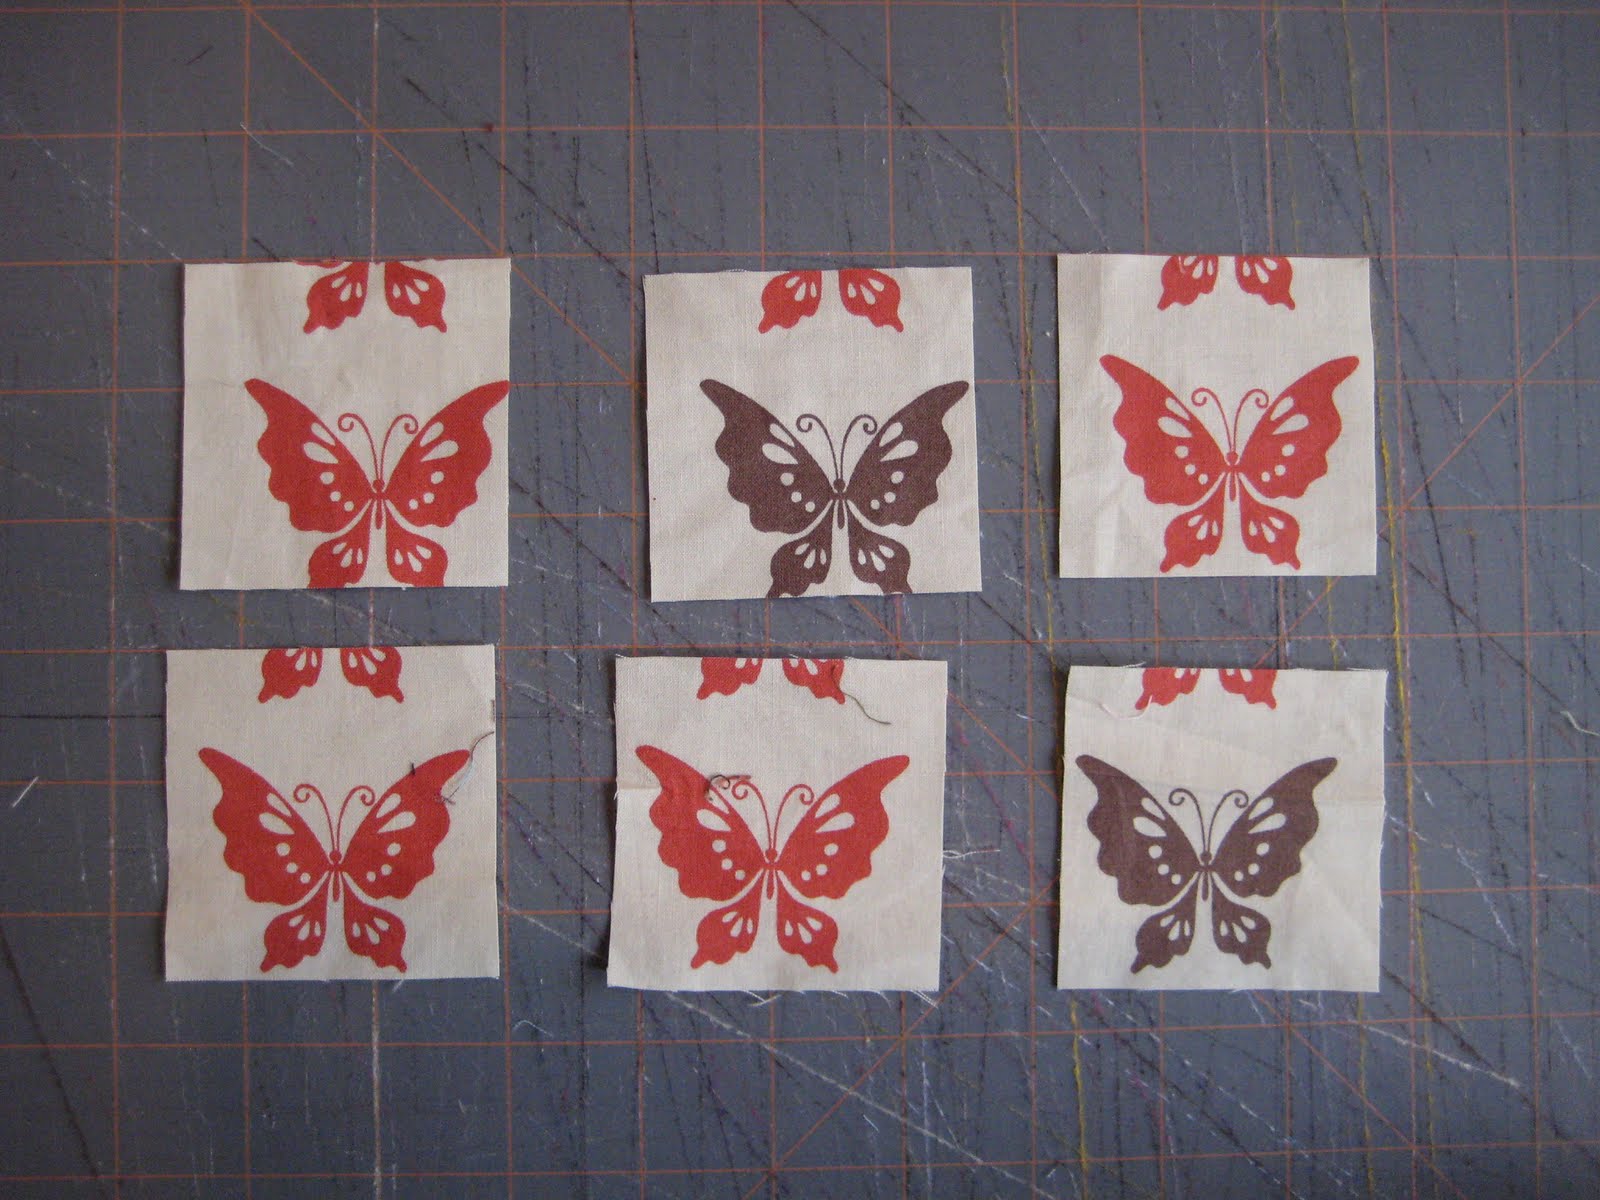 With 1/4" seam allowance, sew 4 squares together in a line.
  Attach 2 squares on either side of the square in the second position to make sort of a lower case "t".
  Now we're going to start making it into a cube. Ultimately you'll put together the sides as shown with the arrows, and end up with sort of a jack in the box.
  Here's how it looks after sewing up 2 sides.
 Sew the next 2 sides as indicated by the arrows. You'll end up with a box with a top. Now you just need to attach the top.
  Sew up the last 2 sides and halfway on the third side, leaving enough of an opening to turn the cube right side out.
 Here's the cube turned right side out.
Fill it up with some kind of bean. I usually like to use some kind of small lentil. I don't actually know what these beans are. My husband bought these because they were cheap and I was commissioned to make 25 pumpkin bean bags for a Halloween party....
 Using a needle and thread, blind-stitch the opening closed.
 And, you're done! Makes a nice set....and a nice gift for a friend who sews, or a child, or a juggler... Seriously, these are great for juggling.
No more pinning patterns.....

........if you can keep your kids hands off of them!

Thank you for sharing these! Super idea.
ReplyDeleteI love this idea. Thanks for sharing
ReplyDeleteThese are great! You could use leftover jelly roll strips that are already cut at 2.5 inches. Thanks.
ReplyDeleteLeslie S. in MN
esclante at comcast dot net
Thanks for this! I saw some at the store and was going to buy them but forget it now!
ReplyDeleteI love these! I made some from extra large washers and nuts (as in bolts) that I covered in ribbon.
ReplyDeletehttp://sascharomeo.blogspot.com/2010/02/weighted.html
I'll have to make some of these to add to my stash.
I really need to make some of these . . . my DC's are always playing with and disappearing my very small ones. Adding this to my list!
ReplyDeleteThese are great, i'm thinking of doing pyramid ones. It will also stop my 4 year old daughter from going through my stitching boxes while i'm getting some stitching done. Great way to use up my scrap bag!
ReplyDeleteI love this Idea! I also like the part that the kid can play with them when I am not using them.
ReplyDeleteIf you have kids that will be playing with them, you might want to fill them with something that can be washed, like those plastic beanbag pellets. Can't wash the beans unfortunately! LOL!
ReplyDeleteThanks for the tutorial!! Can't wait to make them!
ahh! I love this! thanks for sharing this idea! the weights are sooo expensive at the fabric store and this is so cute! I love having something that no one else has, like using whatever color/choice of fabric I like!
ReplyDeleteThose are soy beans! I picked some up the other day to throw in the giant bin of coloured macaroni my kids play in for some sensory fun.
ReplyDeleteThey were the least expensive thing I could find at the bulk food store so they'd make a good choice for a filling.
I recently did a scrap swap on my blog, I'm going to make some of these and link you. Great idea for using all those fun scraps we got!
Love this!!!! found you off AllFreeSewing.
ReplyDeleteGrace
love this love the fact that the kids can play withthem to but the most imported thing is you are you in your craps that is cool
ReplyDeleteOMG! I have been looking for something just like this because I love to reuse my patterns over and over, but I always manage to tear them with the darn pins! I have bags of beans in the cupboard, I know what I'm doing today!!
ReplyDeleteAnother idea I use for patterns I use over and over is to make patterns from felt-backed vinyl. I buy the out-of-season tablecloths and cut them up. There is usually no need for pins because of the backing.
DeleteWow, very smart! Great tip.
DeleteI was making some of these out of scrapes. Having a good time doing it, my son says “I see you are making “hacky sacks”, I said no pattern weights.” So I made him and my grandson one each. He isn’t a youngster either, but I hate to say this, I had to look up and see what a hacky sack was. What a great way to use up scraps of fabric and useful to.
ReplyDeleteI just found you because of this wonderful pattern weight pattern-I will so be back many times! This is definately one of those go-to patterns to use over and over.First set is mine, second set will be personalized for my sister,who is usually hard to buy for. Not this year!!! By the way- the baby feet that are on your heading are just too cute!!! It makes me smile and giggle just to see them! But I must confess to an overwhelming desire to blow a raspberry on the bottom of each precious piggie!! Keep up the great ideas and tutorials. Thanks for all of them!!
ReplyDeleteThanks for this great idea. This is a much better project for a beginning sewer than the traditional skirt with elastic! It's something they can use over and over with pride. I knew I was saving my scraps for something special. These are special
ReplyDeleteGreat tutorial - thanks! I'll definitely be making these for presents and for myself :-)
ReplyDeletecool idea. I'm thinking you could also make them using just 3 pieces of fabric: One the size of four squares sewn together in a row, and then two more squares: One for the top and one for the bottom. You sew the long piece together with itself into a loop. Then you clip at the four corners and sew on the top and bottom square, leaving a small opening for turning and filling. It's also possible to cut out just one fabric piece in the shape of the lowercase "t" and work with that.
ReplyDeleteNow I want to make some too :-)
You could do it that way, but the seams show where the sides go together and more importantly, help keep the cube squared after filling it. Your ideas will also work, but you're going to have to mark where the sides connect to the top - so it's even and after filling it, the sides will be more likely to bulge out a bit as there are no seams to help support the weight of the beans.
Deleteoh, and you can make the top/bottom pieces something other than square: circle, triangle, etc.
ReplyDeleteMy 9 year old granddaughter is so interested in sewing, what a great project for her. Maybe she will design them a little differently. I will let her use her creative mind, I have been looking for something like this, so I don't have to use pins. GREAT IDEA'S thank you and great site!
ReplyDeleteLove these. Have used just plain objects for patterns but have a world of scraps that would be fabulous made into weights.
ReplyDeleteHaving a brand new Granddaughter I plan on making these out of different material & different size beans for stimulation.
ReplyDeleteThis is a great idea. You could also make them look like a dice. That would be fun to make. Take white fabric and then paint on the dots with fabric paints. That would make a great gift for some one that has every thing and hard to buy for. Thanks again, Cheryl Roberson
ReplyDeletePlastic "beans" won't attract rodents.
ReplyDeleteWonderful! Much cheaper than buying them. :-)
ReplyDeleteKathy H.
When attaching the 2 squares (to make the t shape), do you center #5 and #6 over the seam lines for #1, #2 and #3 and then stitch only to the existing seams that join #1, #2 & #3 ? That seems (no pun intended) to be the only way it will work.
ReplyDeleteGoing to try these. Flannel fabric, might give them more sticking power?
ReplyDeleteI have scraps of fabric that I just love but they are too small to use for anything. This is perfect and I will see the fabric often. Thanks for the pattern and the idea. Keep up the good work.
ReplyDeletei have been using the metal round door stops i fgot at the local ALDI fr abotu £3.50 the otter month they are really super and hold the cloth down tightly without marking it at all. the rubber base means they stay put and hold fabric well even the slippery organzas and they are cool lookgin too.... I sued to also ue a clean wheel bearing or two fron an old land rovef they are pretty things....
ReplyDeleteBut these are cool! dont get me wrong i just metal and rubber combo .. makes me sound like a pervert desn it lol
I need to make myself some of these! I was recently thinking about buying some weights but they're expensive and knew I should be able to make them. Thanks so much for sharing this.
ReplyDeleteeasy to make but look very nice :X
ReplyDeleteFor tbe last 40 years I have been using can goods as weights instead of pinning but these are so cute I am going to have to make a set
ReplyDeleteThis is such a great idea! I am going ti make some for my daughter to use in her dress making studio.
ReplyDeleteSuper ! Merci!
ReplyDeletearthritis has made pins hard to use, and after stepping on and embedding a needle in my foot...........................these weights are great, and safe for old slippery fingers. river rocks work also.
ReplyDeletei just wanted to add.... its a great idea..but beans rice etc tend to get bugs... better idea for filling them is clean cat litter or animal bedding...
ReplyDeleteThose are really cute but the lazy being that I am just took 2 fabric circles, sewed them right sides together leaving a small opening, turned them, filled with rice (or beans) and slip stitched the opening closed. I have different sized circles for different sized areas of the pattern.
ReplyDeleteI love this idea, they look great & are very practical. I will be making some. Thank You.
ReplyDeleteAbsolutely brilliant!! Thank you! I have made two but will be making lots more.
ReplyDeleteI made two of these and will be making more. I filled mine with Mardi Gras beads.
ReplyDeleteI can see placing these in a wicker bowl for decoration between uses.
ReplyDeleteI recently perched a couple of bags of littler box crystals (bargain bin ) only to find out cats not really fond of digging in gravel :-( I was planning on using as a filler in door draft dodgers that called for rice or beans as filling so before I do that I might have to make a couple of sets of these handy weights ( no children & sadly no grandchildren ) on this end so I think I'm safe using, after all it's not likely my cats will miss LOL
ReplyDeleteI linked to your great tutorial today! http://maxine-ramey-ekoc.squarespace.com/blog/2015/2/20/pattern-weights
ReplyDeleteThanks for such a great idea.
ReplyDelete