 Who doesn't love a cute baby bib? I made these bibs to coordinate with some baby blocks I made for 2 friends who are expecting. Since I only had scraps of the fabrics left, I pieced them together to make a scrappy baby bib.
For my bibs, I needed my scraps to be about 8 inches by 20 inches. If you make a smaller bib, you'll need less.
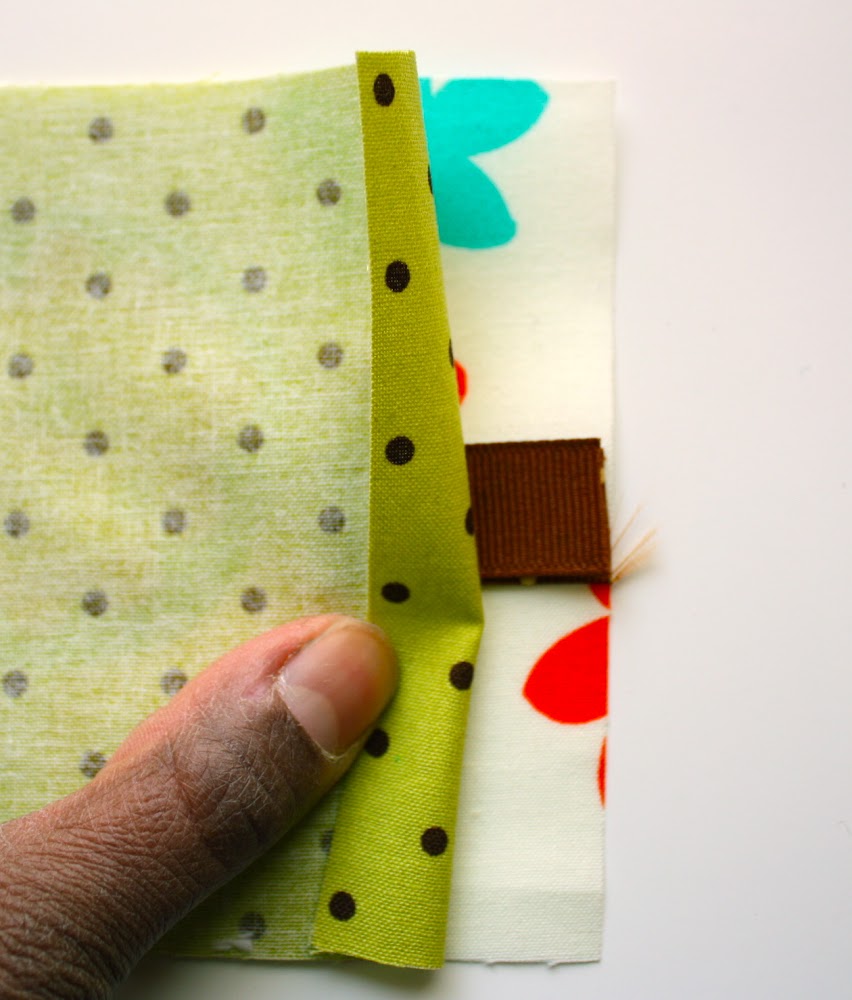
 Sew the pieces together the long way and press the seam open.

 Above photo should say, fold in half RIGHT sides together. Sorry about that!
Trace your favorite bib. My favorite bib was a gift from my friend Roselee, and as you can see, has been well loved.
Above photo should say, fold in half RIGHT sides together. Sorry about that!
Trace your favorite bib. My favorite bib was a gift from my friend Roselee, and as you can see, has been well loved. Here's the best part, sew first, then cut. Make sure to sew just inside of your drawn line or you'll see the marker when you turn. Also make sure you leave an opening for turning.
 Cut just outside of your seam and clip the curves.
 Turn right side out and press.
 Topstitch around the edge of the bib making sure you close the opening you left for turning. Add a closure, velcro or a snap works well.
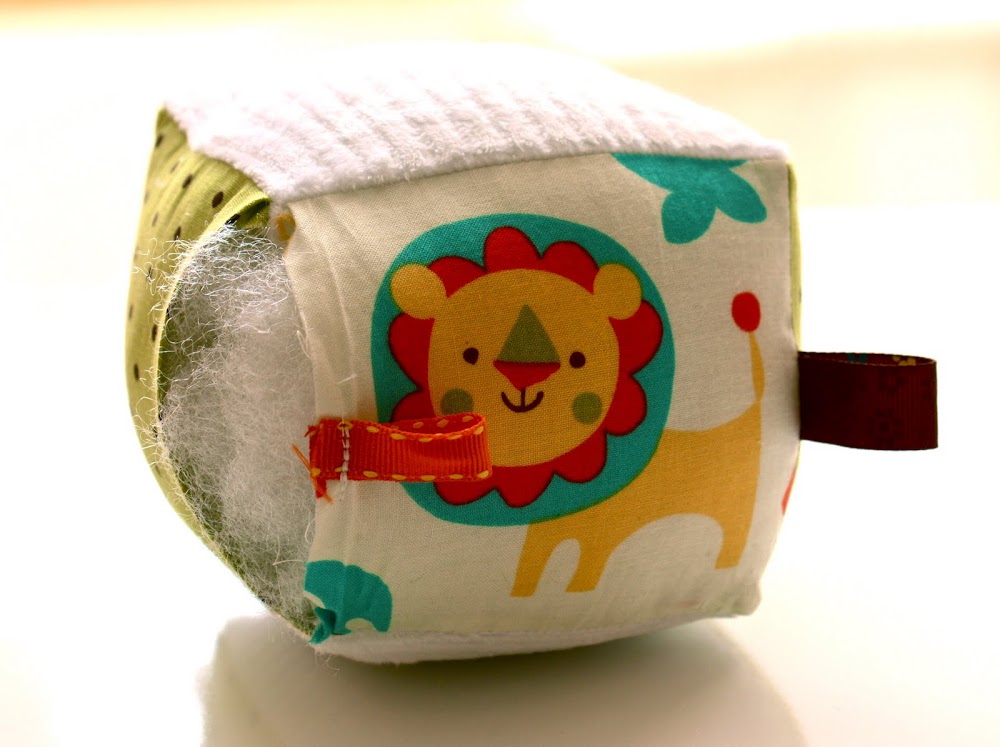
 Done! Paired with a baby soft block, this makes a great baby shower gift.

 These blocks are pretty easy to make and are a really great handmade baby gift. I made one for my nephew as a late holiday present, and one to coordinate with this baby blanket. Now, I have a tutorial to share with you! Here's what you'll need:
Fabric: I used 4 fabric squares that are 4x4 and 2 chenille squares also 4X4. You need 6 squares in total, and they need to be square. What you use for fabric and the dimensions are really up to you. I used the same concept to make some pattern weights, tutorial here.
You'll also need:
- 4 pieces of ribbon about 2-3 inches each,
- some kind of stuffing (I used polyester Fiberfill),
- your sewing machine and thread
- a hand sewing needle and some thread
 Fold your ribbon in half, center and pin to one side of a fabric square.
 Lay another fabric square on top and sew down the side with 1/4 inch seam.
 Press seam open.
(you can also machine baste your ribbon in place first, as I did on the green square, below)
 Repeat with the remaining 2 squares and 2 pieces of ribbon until you've got 4 pieces in a row with 3 ribbons sewn in.
 On the first and last square, fold fabric over to the wrong side 1/4 inch and press. Attach the last piece of ribbon to one end of your fabric strip.
 With right sides together and 1/4 inch seam, sew the chenille squares to the square in position C.
  Now you need to start sewing sides together to form the block. It's a little hard to show this, but basically you will start by sewing side A to E and side D to E. It will look like this.
  Continue sewing each side to the chenille squares in the same way. Trust me, it will make much more sense when you're actually doing it. When you get to the last side, stop your seam at the 1/4 inch fold you made before.
  Here's what you'll have when you've sewn up all the sides, except the last side where you folded over 1/4 inch. You need to leave this side open for turning.
 Turn your block right side out....
 and fill.
 Pull the last 2 sides together, match where you folded the fabric, and pin. Use a needle and thread to blind stitch the side shut.
 So cute! I made this one to go along with a baby blanket I made for a friend which I posted here.
 Have fun! Leave me a comment and a link if you make one. I'd love to see!


 Sew the pieces together the long way and press the seam open.
 Above photo should say, fold in half RIGHT sides together. Sorry about that!
 Here's the best part, sew first, then cut. Make sure to sew just inside of your drawn line or you'll see the marker when you turn. Also make sure you leave an opening for turning.

 Topstitch around the edge of the bib making sure you close the opening you left for turning. Add a closure, velcro or a snap works well.
 Done! Paired with a baby soft block, this makes a great baby shower gift.


