5.29.2014

Girls Capri Leggings - Free Pattern and Tutorial


I'm so excited to offer my first tiled PDF pattern!  As I mentioned in my last post, I'm finally teaching myself Adobe Illustrator and hopefully opening up a whole new world of pattern drafting.  I'm thinking about taking this course, but I'm not fully committed yet.

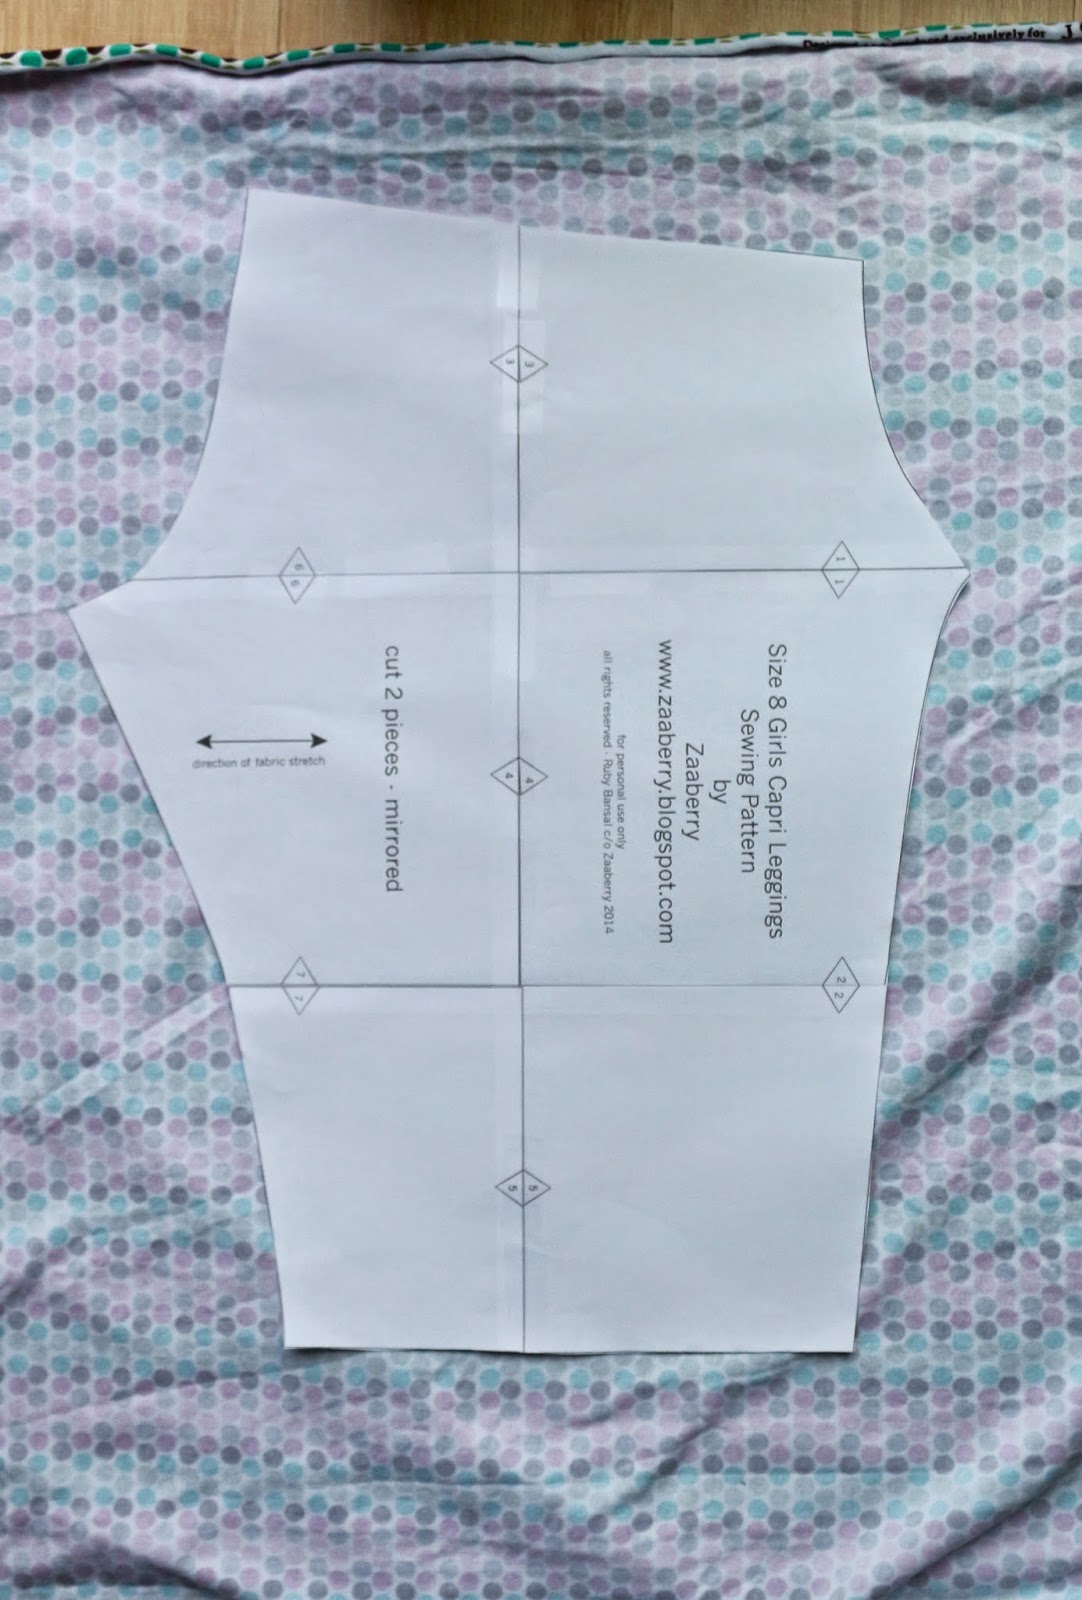
My first pattern is for girls capri leggings in size 8.  Get the pattern HERE.  Make sure you select "actual size" when you print.  Your assembled pattern should look like this.
 You'll need about a yard of stretch knit fabric, and 20 inches of 3/4inch elastic.  I would recommend a cotton spandex/lycra knit.  The lycra keeps the pants from "stretching out".

Use the pattern to cut 2 pieces that are mirror images of each other.  The easiest way to do this is to fold your fabric in half and trace and cut the pattern through both layers.

With a 1/2 inch seam allowance and right sides together, sew each piece along the leg.  Turn one leg right side out and place it inside the other, so the right sides are matching.  Sew along the curved raw edge with a 1/2 inch seam allowance.
 Turn it right side out, voila, you've got some capris!
 Turn each leg hem under by 1/2 inch and sew with a zigzag stitch.
 Cut a piece of 3/4inch elastic to be 20 inches.  Sew the ends together (overlapping about 1/2 inch) to make a loop.
 Mark the halfway points on the loop and match and pin those points to the front and back seam, on the wrong side of the top edge of the capris.  I like to pin the elastic so that it sits flat in the front and then stretch it as I sew it along the back.
 Sew the elastic in place with a zigzag stitch.  You can see here how I didn't stretch the elastic in the front, but did in the back.
 Fold the elastic to the inside and sew a zigzag stitch along the bottom edge of the elastic/fabric.
I like to sew a little piece of ribbon into the seam in the back since for whatever reason, my kids can never seem to tell the back from the front on these kinds of things. 
 I will be making lots more of these for sure!  This pair took me probably 30 minutes or less start to finish.
 Cute and comfy.  Perfect for a little baton practice in the yard.

Let me know how if you give my pattern a try and how it comes together.  This is my first tiled pattern and I'm sure it's not perfect and could use some tweeking.

5.26.2014

A New Skill and New Pattern

 I bought this book last year, after reading this post over at MADE.  All the sewing patterns I've made up to now, I've done in Powerpoint.  It works well for straight lines and some curves, but it's not ideal.  So, I've been meaning to sit down and learn Illustrator....for almost a year now!  Guess what, I finally did!  It wasn't as hard as I thought it would be and having this book on hand is really helpful.
 This book is really great.  It's small (7x7, 154 pages) so it's not overwhelming in size or information, but it's just enough.  It definitely takes practice, and I'm by no means a pro.  But, I was able to figure out how to make my very first, multi-page pattern.  This feels like a HUGE accomplishment for me.
 I've purchased quite a few PDF patterns that require assembly.  Some come together better than others, and now I understand why.  It's a little hard to get all those pages to line up perfectly.  I think my first one came together pretty well.
 It's not perfect, but it works.  And, since it's my first and I'd love to get some feedback, I'm going to post this with instructions for free!!  Coming soon....
PS - I couldn't find the book listed on the Nicole's Classes website, so  I sent a message to see if it's still available.  I'll post more info when I find out.

5.20.2014

A New Skirt and My Favorite Spring Colors

  Over Mother's Day weekend, I got my nails done, started a new skirt, and bought some fun new fabric.  As I snapped this photo of my skirt in progress, I realized I have a color palette on the brain.  Emerald, black and coral seem to be my go to colors right now.
I'm so happy with now this skirt came out and really proud to say that it is for the most part, self-drafted.
 I started with Simplicity 2226 which I've made twice before.  This one, where I sort of followed the pattern, and here again where I describe the changes I made.
 I used the pattern to draft the pockets and the yoke with belt loops and a skirt from my closet to draft the basic shape.  The invisible zipper gave me trouble on both my previous skirts, so it was nice to not have to worry about a zipper on this one.
 I really like the look of the front buttons, and believe it or not, used the sewing instructions from my Lisette Traveler's Dress to draft the button placket.


There are so many things I love about this skirt.  The fabric is a stretch poplin, so it's really comfortable to wear.  I love the color and the pockets and the fun flower print facing.  I added seam down the back which I think adds a nice simple detail.  I did have to add a little hook between the first 2 top buttons to keep it a little flatter there. I love being able to customize my clothing and not always having to rely on the sizing and fit of store-bought clothes. 
Next on the sewing agenda is a cute matching top with my new fabric find.