 Just got back from a full morning of sledding and chili and I'm ready to show you part 2, the Diaper and Wipes Clutch. I've made 2 of these for myeslf (lost the first one) and find it to be so convenient to have my wipes and diapers in a little sleeve. It's easy to switch it from bag to bag or throw it in the car etc. Also makes a great alternative to a diaper bag for daddies. Here's what you need:
Diaper Sleeve
exterior fabric, 1 piece 7" x 22" and 2 pieces 7" x 4" for the flap
interior fabric, 1 piece 7" x 22"
8 inches of elastic
1 snap fastener
midweight fusibible interfacing 7" x 22" and 7" x 4" (optional)
I like my sleeve to have a bit of a sturdy feel, so I fuse a mid-weight interfacing to the exterior fabric and flap. This is totally optional, but I would recommend it if you are using a lightweight fabric.
So, take your flap pieces, wrong sides together, and using a jar lid or CD, round both corner corners.
 Then, with 1/4" seam allowance and right sides together, sew around the rounded outer edge
.
Trim the seam allowance with pinking shears or clip into the curves.
 Turn, press and topstitch.
 Take your exterior piece and fold in half matching shorter sides. The fold will be the bottom of your pouch. If you want to add some applique or embroidery, this is the time to do it. I added a little brown bird to mine.
 On the back side of the sleeve, center the elastic, about 5 inches up from the folded edge. Machine baste in on sides.
 Now, unfold and fold again so that the right sides are facing and sew 1/4" seam along both long sides. Do the same for the lining fabric.
 Trim the corners and extra elastic, and turn the exterior pouch right side out. Pin the flap to the back of the pouch, matching the raw edges, and machine baste in place.
 Slide the exterior pouch inside the interior pouch, with right sides together and pin along the top.
  With a 1/2 inch seam allowance, sew around the top, leaving an opening for turning.
 Turn and press. Pin the opening closed, and top-stitch making sure to sew the opening closed.
 Add a snap, fill with diapers and you're ready to go.
Don't forget to fold up your changing pad and slip it into the elastic on the back.
 Now go change some diapers in style!

 Celebrate the Boy is starting next week and I can't wait!!! A whole month of boy related posts. So I figured this was a good time to sneak in a girly post. I whipped up some super easy and super fast fairy skirts. The trick was using my serger to do a rolled hem on the bottom.
 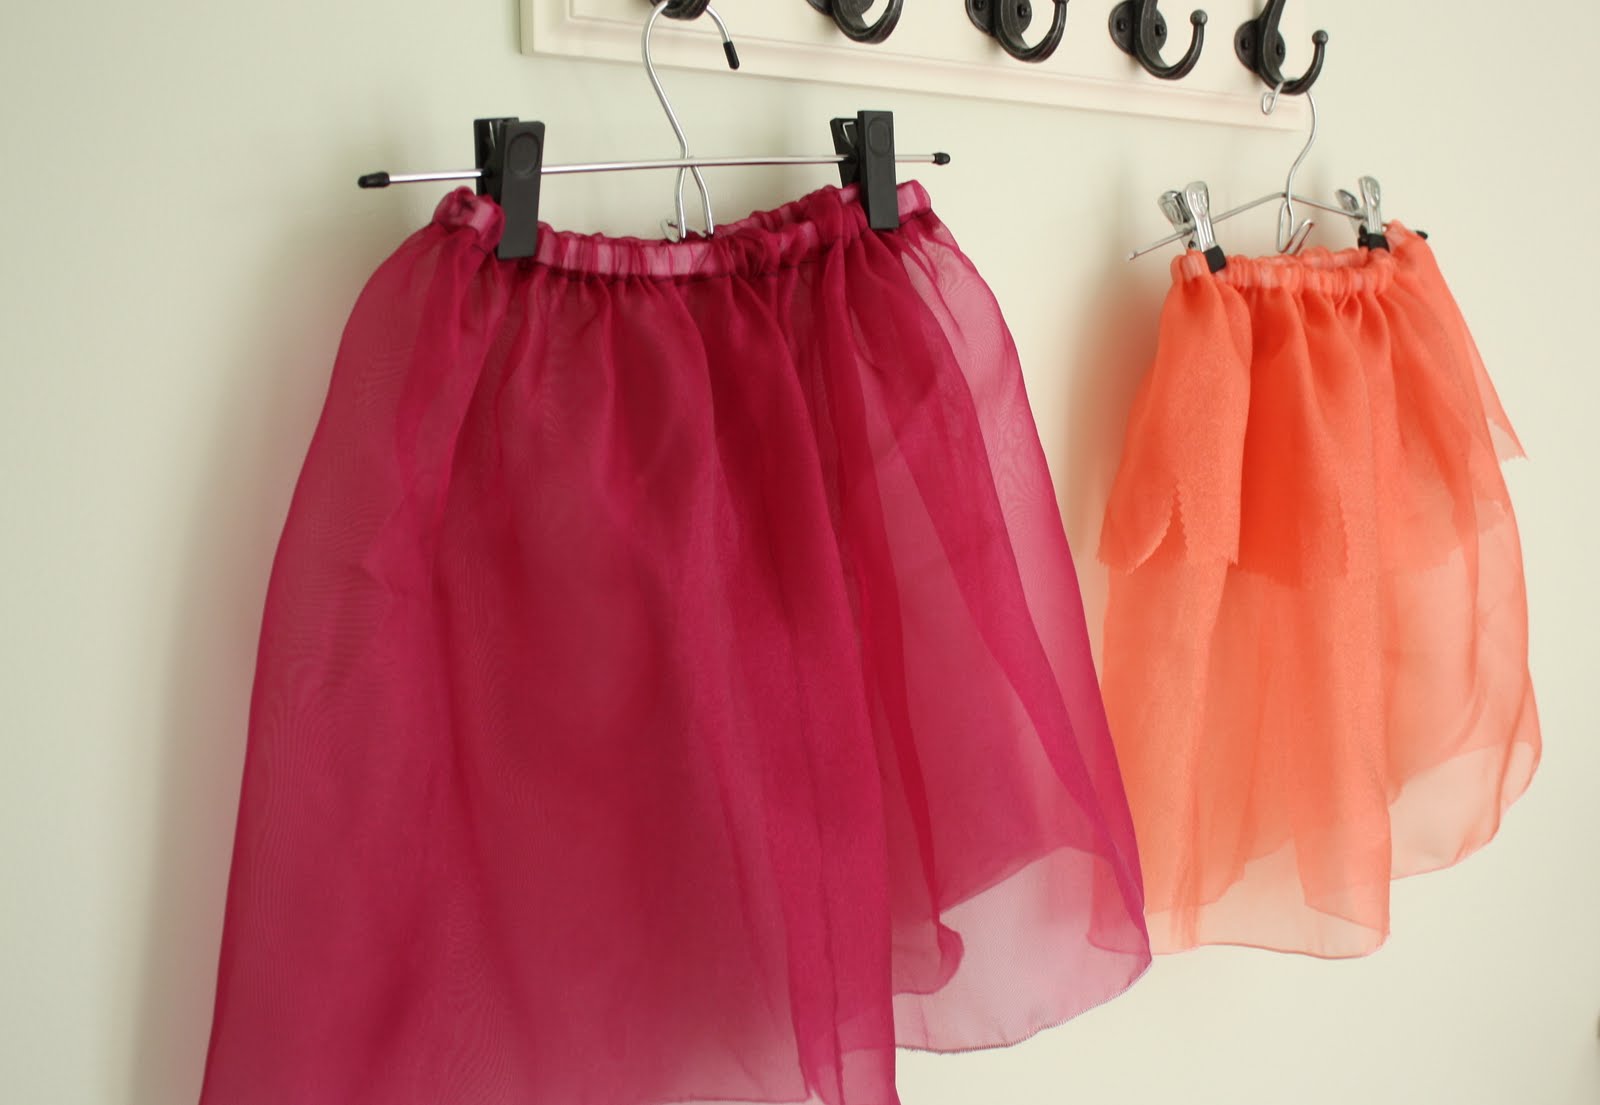 We have some friends coming over this weekend who we don't see too often, and sometimes my little 4 year old can be a little shy.
 I think these fairy skirts might help. As I write this, she's making paper wands for the other girls.
 Have a great weekend!


