I'm getting ready for a craft fair this weekend and wanted to make something that would make a simple cute gift. I've looked at a number of fabric flower tutorials and came up with my own version that borrows a little bit from each. It's VERY easy. Here's what you need:
 Some kind of synthetic fabric....I used a polyester/nylon blend
embroidery floss
thread and needle
candle
fabric stiffener (optional)
I first made a pattern since I was going to be doing this many many times. But really, all you need are 4 (or a few more or less) circles that are different sizes.
 Next, hold the edge of the fabric above the flame, really in the heat rather than the flame. If you get too close, the fabric will burn, or maybe even catch on fire! Please, be very careful!!
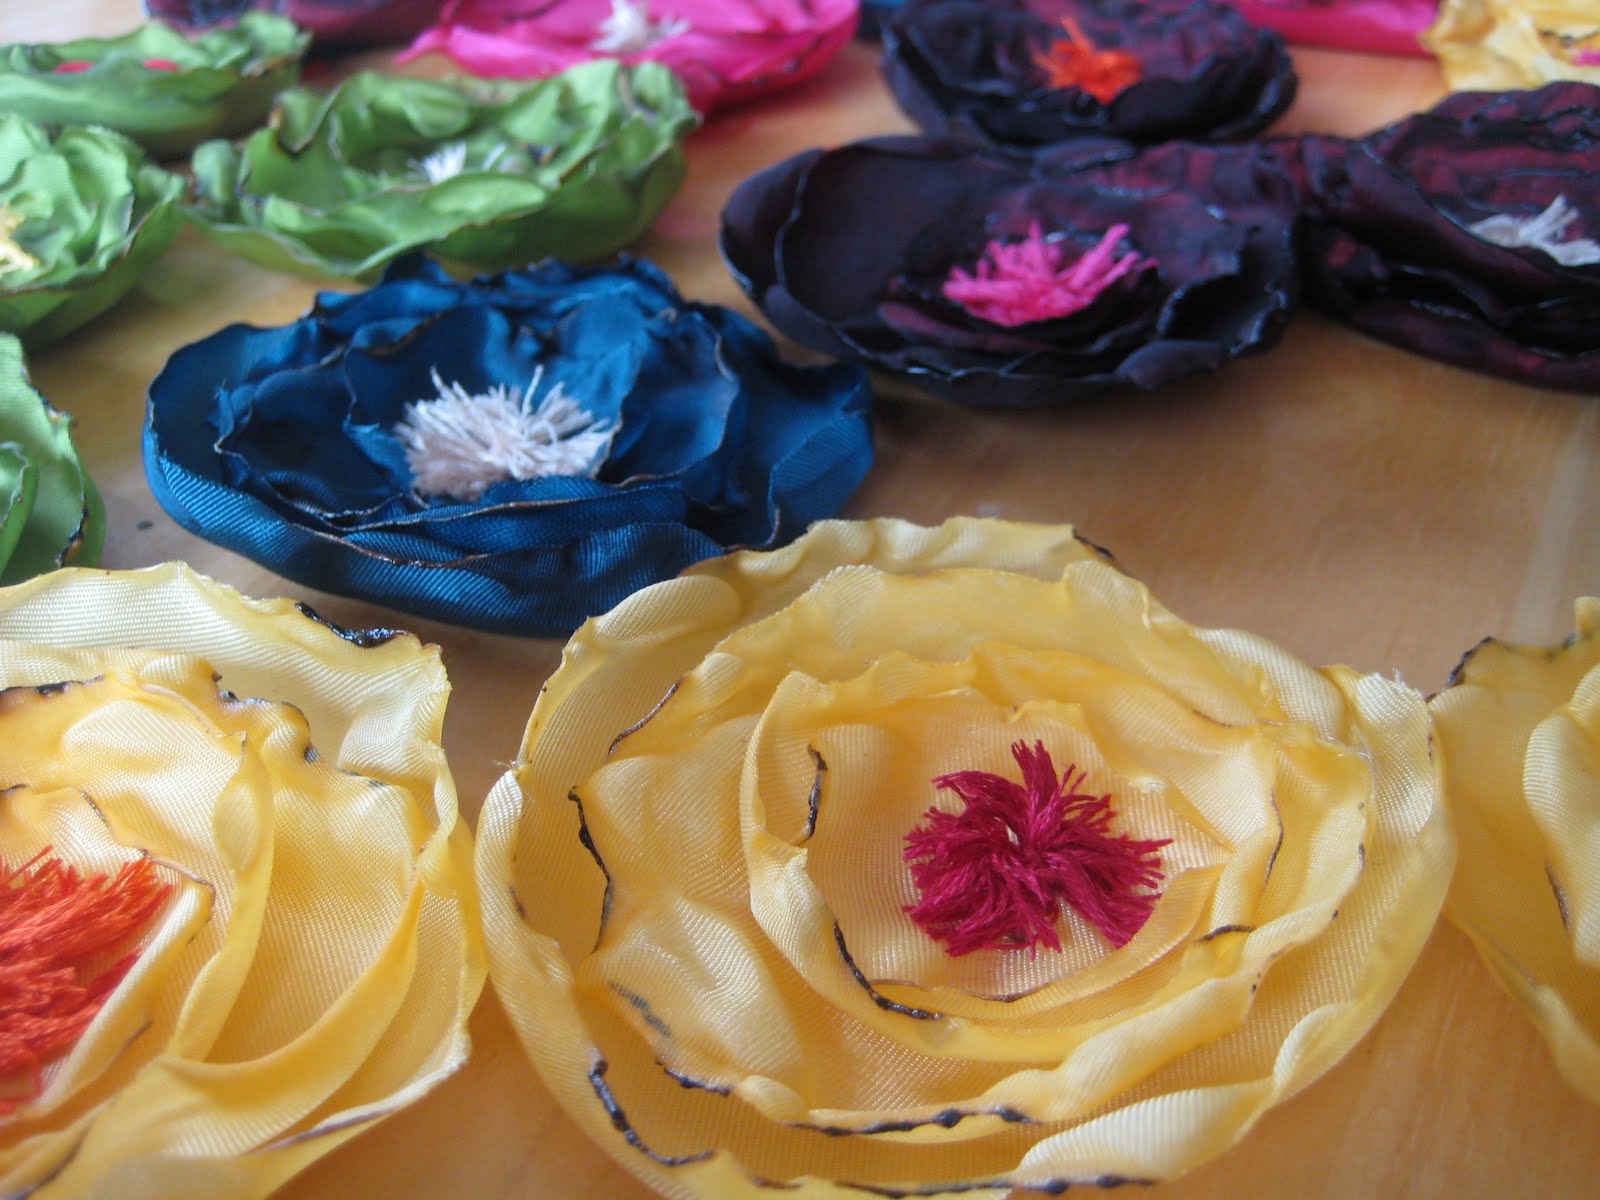
 You can see how the edges just curl up. There are a few burned spots, which I think gives it a little texture.
 When all your pieces are "ruffled" lay them on top of each other and secure with a simple stitch in the middle.
 Next, fold the flower in half and very carefully make 2 small cuts on either side of securing knot, on the bottom of the flower. The cuts need to go through all layers.
 Now, we're going to use the embroidery floss to make the stamen, or center of the flower. It's fun to experiment with color here, so be creative.
 Cut a piece of embroidery floss about 18 inches long and another that's about 3 inches long. Hold the longer piece between your thumb and forefinger and wrap it around your finger about 15 times (or until you use up all your thread).
 Take the shorter piece and thread it through the center of the loops you've just made on your finger.
 Tie the shorter piece in a knot to secure the loops, leaving about equal length of thread on either side.
  Now, with the loops in the center of the flower, feed each of the ends of the shorter piece of floss through the 2 holes you made in your flower, and tie them in a knot on the bottom to secure the stamen.
  This is what the top should look like. Now, you can either leave it like this, which is kind of a neat look, or you can cut the loops.
 If you cut the loops, make sure you are cutting in the center. Now you can trim them up or leave them long, whatever you prefer. I found that spraying some fabric stiffener on the center especially gave the flower a more flowery finished look. If you spray the center, and then kind of rub the threads with your fingers, the threads loosen up and have a more natural look.

There you have it! So fun and so easy! And again, this is not an original idea. There are many other flower tutorials out there. I put a few ideas from others together for my own spin on it.
 I made my flowers into headbands, barrettes and pins. But you could do a lot of different things with these. Maybe even a smaller version made into a ring. Have fun and send me a picture or leave me a comment if you make some.