2.24.2015

Trying to Beat the Winter Blues

 I'm chalking my lack of blogging here lately to a bad case of the winter blues.  I'm a snow lover and usually winter doesn't bother me much.  It's the cold that been getting me down and has really affected my motivation. 
 The kids were on February break this past week and we took our usual ski trip to northern Vermont.  I decided to pack some yarn and a knitting pattern to try to keep myself busy.  It's been years since I've knit anything.  I knit a lot when my kids were babies, but in recent years have gotten more hooked on instant gratification of a simple sewing project.
 But sewing isn't very portable and knitting is.  And, I'm hooked again.  I made the blue hat first and it ended up a little big for my child sized head.  The second one is a perfect fit and sooooo warm.  Just what I need.
 So here's what I've been up to the past month.  I'm throwing this picture from January in to remind myself of when we were happy about the snow.  We had so much fun this day. 
 Now, we can no longer see our bushes or our front stairs.

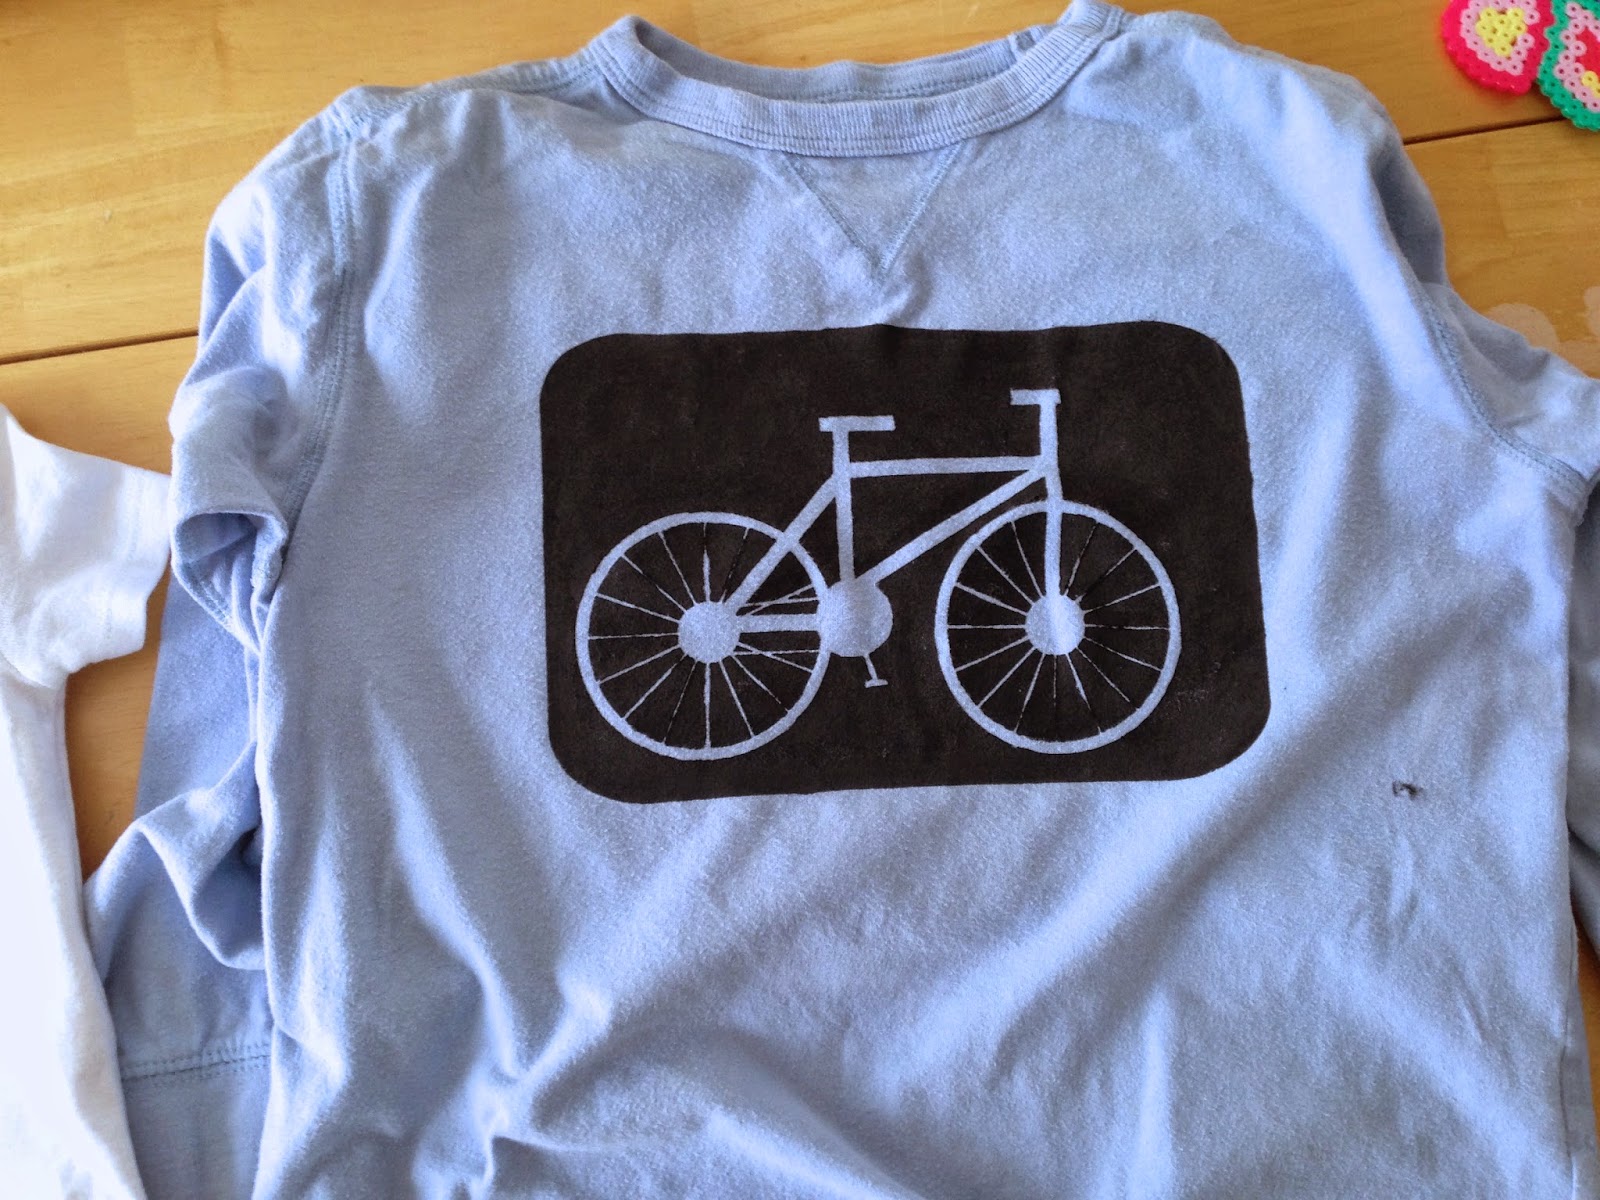
I treated myself to a Silhouette Portrait and have been having fun playing around with it. It's really amazing how much you can do with this little machine and I'm still a total newbie.
I'm a huge fan of Brindille and Twig patterns and tried out a new to me romper pattern.  I cannot tell you how cute this outfit is in real life. 
 So now you're caught up on the last month.  I'm hoping that Spring is around the corner and I can snap out of my funk.
I leave you with a photo I snapped today at work.  This made me smile.  I guess if the ducks can handle it, so can I.

1.30.2015

Color Blocked Perfect Little Lunch Bag

Today I'm going to show you how to add a contrasting bottom to my Perfect Little Lunch Bag pattern. There's more than one way to do this.  I chose this method because I didn't want the fabric to get too bulky at the bottom.  There are already a lot of layers with the insulation, lining, and interfaced exterior.  This is really easy to do and is a cute variation on this already cute lunch bag.
From your contrasting fabric, cut 2 pieces that are 6 x 15 inches.
 Use the pattern piece to figure out how much of the main fabric you need to sew to the contrasting band to make the height tall enough.  You might notice that I have folded my pattern piece down at the top.  That's one thing I love about this pattern, the size is really flexible.  You can get different sizes by trimming the top off a little bit.
 With right sides together, sew the the contrast and main piece together along the long edge.  Press the seam allowance toward the contrast band and topstitch on the right side.
 Cut the bag shape using your pattern piece and continue with the rest of the instructions.
 Take a little extra time matching up the sides and you'll have a great looking lunch bag!
 Ready to try it out?  Get your pattern HERE.

1.23.2015

New Cutting Tool // New Cutting Technique

 I just recently started following the Brindille and Twig blog because I love their patterns so much.  A recent post sent me to this video which is a basic tutorial on fabric cutting.  The takeaway for me was less about the layout and more about the tool.  I've never attempted to use a rotary cutter to cut anything but straight lines.  Typically I lay my pattern out, trace with marker, then cut with scissors.  
 Since the video made it look so easy, I picked up a small rotary cutter for under $20 and decided to give it a try.  I will tell you, I will never go back!  Not only does this take less time, but it is so much more accurate.
 So fun and exciting to learn something new.

1.17.2015

Upcycled Grocery Bag Tutorial


One of my New Year's resolutions is to find little ways to be more earth friendly and create less trash. 
 We have a bird feeder on our deck and really enjoy seeing all the beautiful birds in our backyard.  We go through quite a bit of seed feeding both the birds and squirrels, so we often end up with an empty 50 pound bird seed bag.  Before putting it in the trash I had the idea that I could turn that bag into a reusable grocery bag and do double duty for the environment!  Here's what I did.
(my bird seed bag is made from a woven plastic type material)
 
 The bottom of the bag has a gusset, so first I cut that off so I could measure and trim the bag to the size I want.
 I grabbed a bag I own to get the general size.  I trimmed the birdseed bag to be about 24 inches tall by 20 inches wide.
 I forgot the snap a picture, but make sure you SAVE the pieces you cut off, these will be your straps. 
With the right sides together, sew the sides and bottom of the bag with about a 1/2 inch seam allowance. You'll want to use the same kind of sewing tricks you'd use for oilcloth.  Check out the section "getting the fabric to slide" HERE.
 I got to try out my new roller foot which worked great.
 Fold down the top about 1.5 inches and sew.
 To box out the bottom, I cut out 4 x 4 inch squares off each bottom corner.
 Match the side and bottom seam and sew across with a 1/2 inch seam allowance.
 To make the straps, I took my scraps and cut them to be about 2 inches wide.  I folded them in thirds and sewed down each long edge.  The straps were originally the same length as the original bag, but I trimmed them down to be about 26 inches each.
 I pinned the straps to the inside of the bag, about 3 inches from each side seam, then sewed them in place. 

This was pretty easy to do and I really like how the bag looks.  The material is really sturdy so it will definitely hold up well which is not the case for many of our other reusable grocery totes.  Next time I think I'll trim the bag a little more strategically so that the barcode gets cut off and more of the picture is showing.
Hope you try it out with your next birdseed bag!

1.07.2015

Sleepy Fox // Fabric Scraps

One of my New Year's resolutions is to save more of my fabric scraps, especially scraps from knit fabric.  Knit scraps make really nice stuffing and doesn't tend to compress the way polyfill sometimes can.
 I started collecting scraps before Christmas and then saw this free stuffed fox pattern at Stitched by Crystal via SewCanShe.
 Since we had family coming to visit and stay in our guest space during the holidays, I made this little fox as a sort of guest room mascot.
I decided to give him a sleepy face taking a cue from my daughter's Sewing School 2 book.  She's made a couple of these little sleepy bears from the book and they are super cute.
  I just love this guy.  He's so cute and has a really nice weight since the fabric stuffing is heavier than traditional stuffing.  And, the scarf is just such a fun touch.
I'd love to get some more ideas of what to do with fabric scraps.  

Do you save your scraps?
What's your favorite use for those scraps?

1.04.2015

Baby Onesie Dress

This right here is baby cuteness at it's best.  A onsie, with a skirt!  
 
I bought this pattern from my new favorite pattern shop, Brindille and Twig.  I started following their blog and saw the release of their newest pattern, a bodysuit dress.
 I decided to put my own spin on it and make the top  kimono style.  The pattern has a snap opening at one shoulder and I'll be honest, I kind of hate putting in snaps.  So the kimono top allows for easy dressing and fewer snaps.  Win, win!
 The design is really great, but you have to pay close attention to the instructions.  I did it wrong the first time...  The way you put it all together, you have the seam attaching the skirt on the outside so that it doesn't irritate baby's skin.
 Nice and flat on the inside.
This one with a matching hat will be up in my esty shop soon.

1.01.2015

Needle Felting Fun

We've been enjoying a really fun winter break.  It's been a lot of relaxing, staying in our pajamas and trying out some new crafts.  My daughter has been interested in learning about needle felting so we got some supplies and tried it out.
This is really fun activity for kids and adults.  Both my kids, age 8 and 6 were able to make some cute little shapes and had a lot of fun doing it.
 Here's what you'll need if you want to give it a try.  A foam block, needle felting tool, wool roving, and a cookie cutter for the shape.  We watched this video to get us started.  One word of caution, the needle felting tool is just that, it's a needle.  I was very nervous that the kids would poke themselves and reminded them constantly (much to their annoyance) to be careful.  In the end, the only one who poked themselves was me!  Go figure.

We attached metal rings to a few so we could use them as keyrings or backback charms.  They would also make really fun Valentine's gifts.
Once you get the hang of it, it's fun to experiment.  There are lots of videos and tutorials for endless fun!

Here's to a fun and crafty New Year!