My kids' both have birthdays in September and possibly for the last time, we're going to have one big party for both. In typical fashion, I think, why not make some toy bags as party favors....18 of them.....
 At the time, it didn't seem like a lot, and I was on a roll until about bag 9. Then, I was done, the novelty wore off. But, I powered through and finished them up with a few weeks to spare.
If you are wacky like me and think this might be a fun thing to do, here are a few tips to make it a little easier.
- As nice as the mitered corners are in my original tute, rounding the corners goes much quicker.

-
- use a zig-zag stitch to secure the bias tape. I found that often times I'd have to go back over parts where all the layers didn't get enclosed.

- I made these bags bigger than the original and also used spray adhesive to hold the velcro in place before sewing.
 Hope the kids enjoy them!
Check back next week for a new tutorial for a fun and relatively easy kid's birthday present. Have a great long weekend!
 (remember, this is for personal use only. contact me if you'd like to become a licensed seller)
I was inspired to create these bags for my kids who are constantly asking me for plastic bags to put toys into. I'm big on eco-friendly thinking and decided they needed something more reusable than a plastic sandwich bag. So, not only are these very cute, but very functional and environmentally friendly too! (NOTE: this kind of vinyl is not food-grade and I wouldn't recommend using these bags for food!)
Here's what you need:
2 pieces of clear vinyl - 6.5" x 7" (I used a mid-weight, not sure what gauge)
2 pieces of fabric - 6" x 7"
3" piece of hook and loop tape (aka velcro)
1/2" double fold bias tape (store bought or make your own, good tutorial here)
I found that making a template and drawing a pattern was an easy way to cut the vinyl. I tried just cutting with my cutting mat and ruler and it kept slipping around.
 Next, take your fabric and fold it in half, matching the shorter sides, so you have a rectangle that is 7" wide by 3.25" tall. Press.
 Open, and fold down the long sides 1/2". Press.

 Open up the folded fabric and center the hook and loop tape about 1/2" from the top. Sew in place making sure you sew through only 1 layer of fabric ie. you should be able to re-fold the fabric and not see the seam lines on one side.
 Open up folded fabric (bag top) and align raw edge with the 7" side of a vinyl piece. Sew across, with seam allowance just short of 1/2".
 Turn so that the seam allowance and raw edge of the vinyl is sandwiched between the fabric top.
 Topstitch along the top and bottom.
 OK, now grab your bias tape, we're almost done.
Take one end of the bias tape and fold the edge to the inside. Press, refold, and press again to create a finished end.
 Starting at the top end (fabric end) of one side of the bag (sorry, I didn't get a photo of this part), sew all the way down to the bottom.
When you get to the bottom, turn the bias tape 90 degrees as pictured.
Starting at the top end (fabric end) of one side of the bag (sorry, I didn't get a photo of this part), sew all the way down to the bottom.
When you get to the bottom, turn the bias tape 90 degrees as pictured.
 Fold the tape over again and create a mitered corner. Sew along the bottom and repeat for the next corner.
 When you get to the top of the bag, cut the tape and make a finished end as you did at the start. Just make sure you leave enough bias tape so that when you fold the end, it still comes all the way to the top.
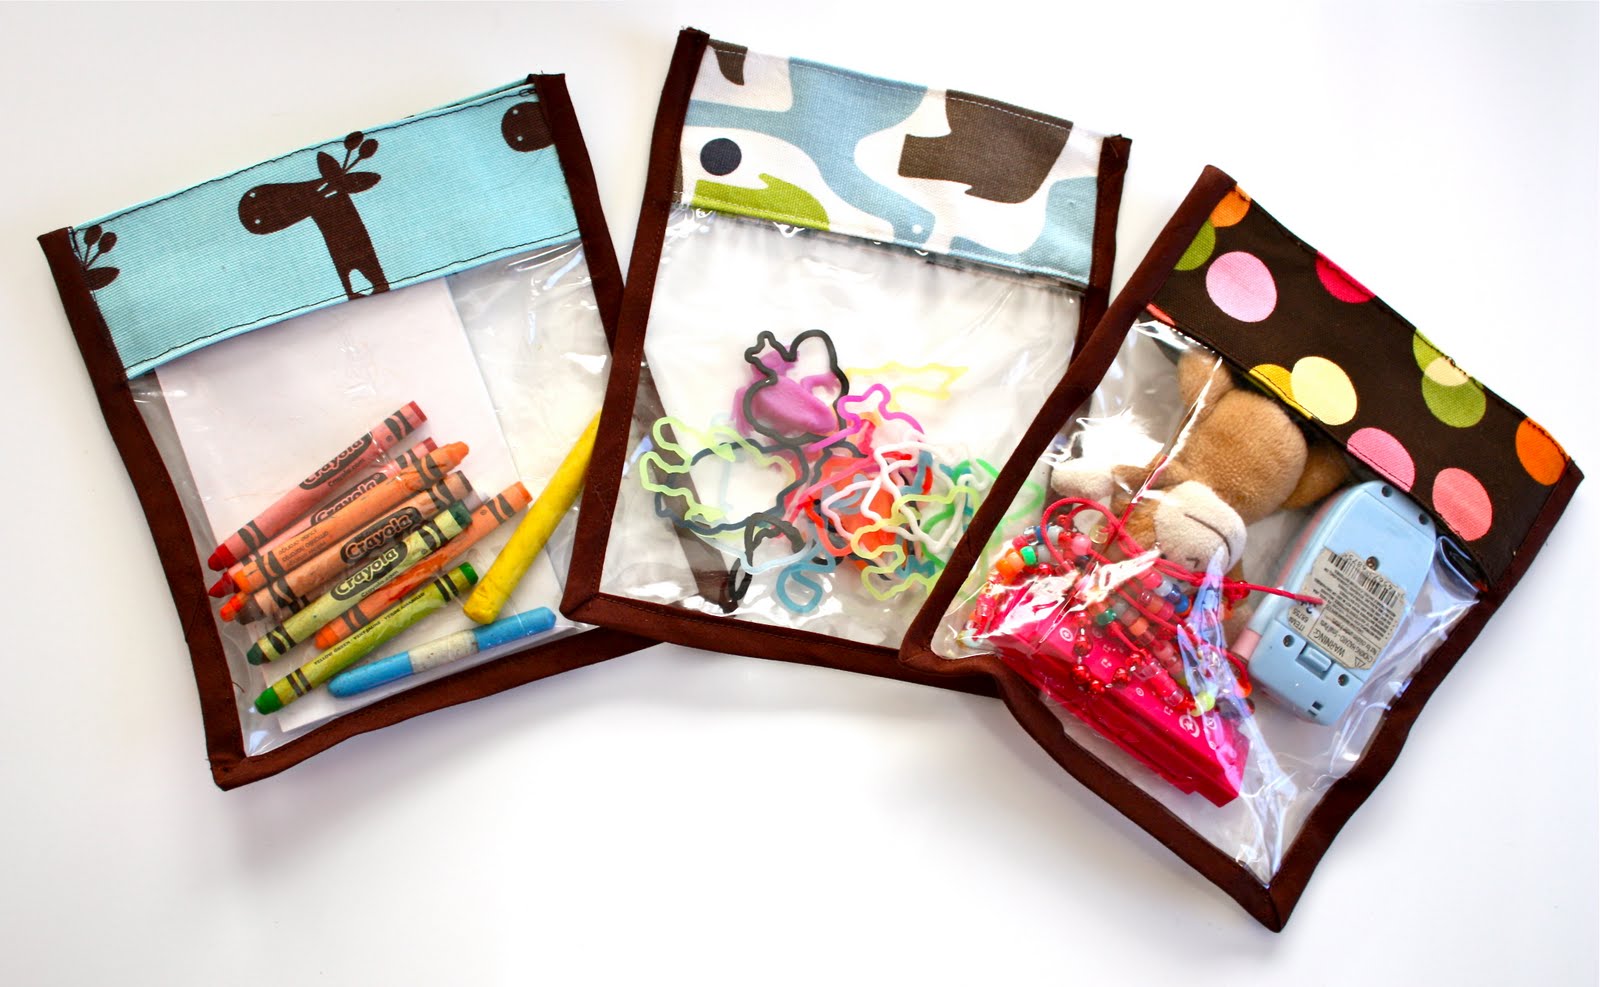
Done! Fill with toys and enjoy.
When you get to the top of the bag, cut the tape and make a finished end as you did at the start. Just make sure you leave enough bias tape so that when you fold the end, it still comes all the way to the top.
Done! Fill with toys and enjoy.


 At the time, it didn't seem like a lot, and I was on a roll until about bag 9. Then, I was done, the novelty wore off. But, I powered through and finished them up with a few weeks to spare.


 Hope the kids enjoy them!