Showing posts with label diy. Show all posts

4.30.2014

DIY Earring Frame

 Mother's Day is right around the corner.  Here's a really easy and useful gift that you can whip up in a hurry.  Anybody who loves earring as much as I do, will be very happy to receive this, especially if it comes with a cute new pair of earrings....hint, hint...

Here's what you'll need:
  • A frame - any size, big or small works.  I found mine in the back of my junk closest
  • a piece of foam board or cardboard.  Thin, but sturdy is the goal.  If it's too thick, you won't be able to get the back of frame secured
  • burlap
  • glue gun
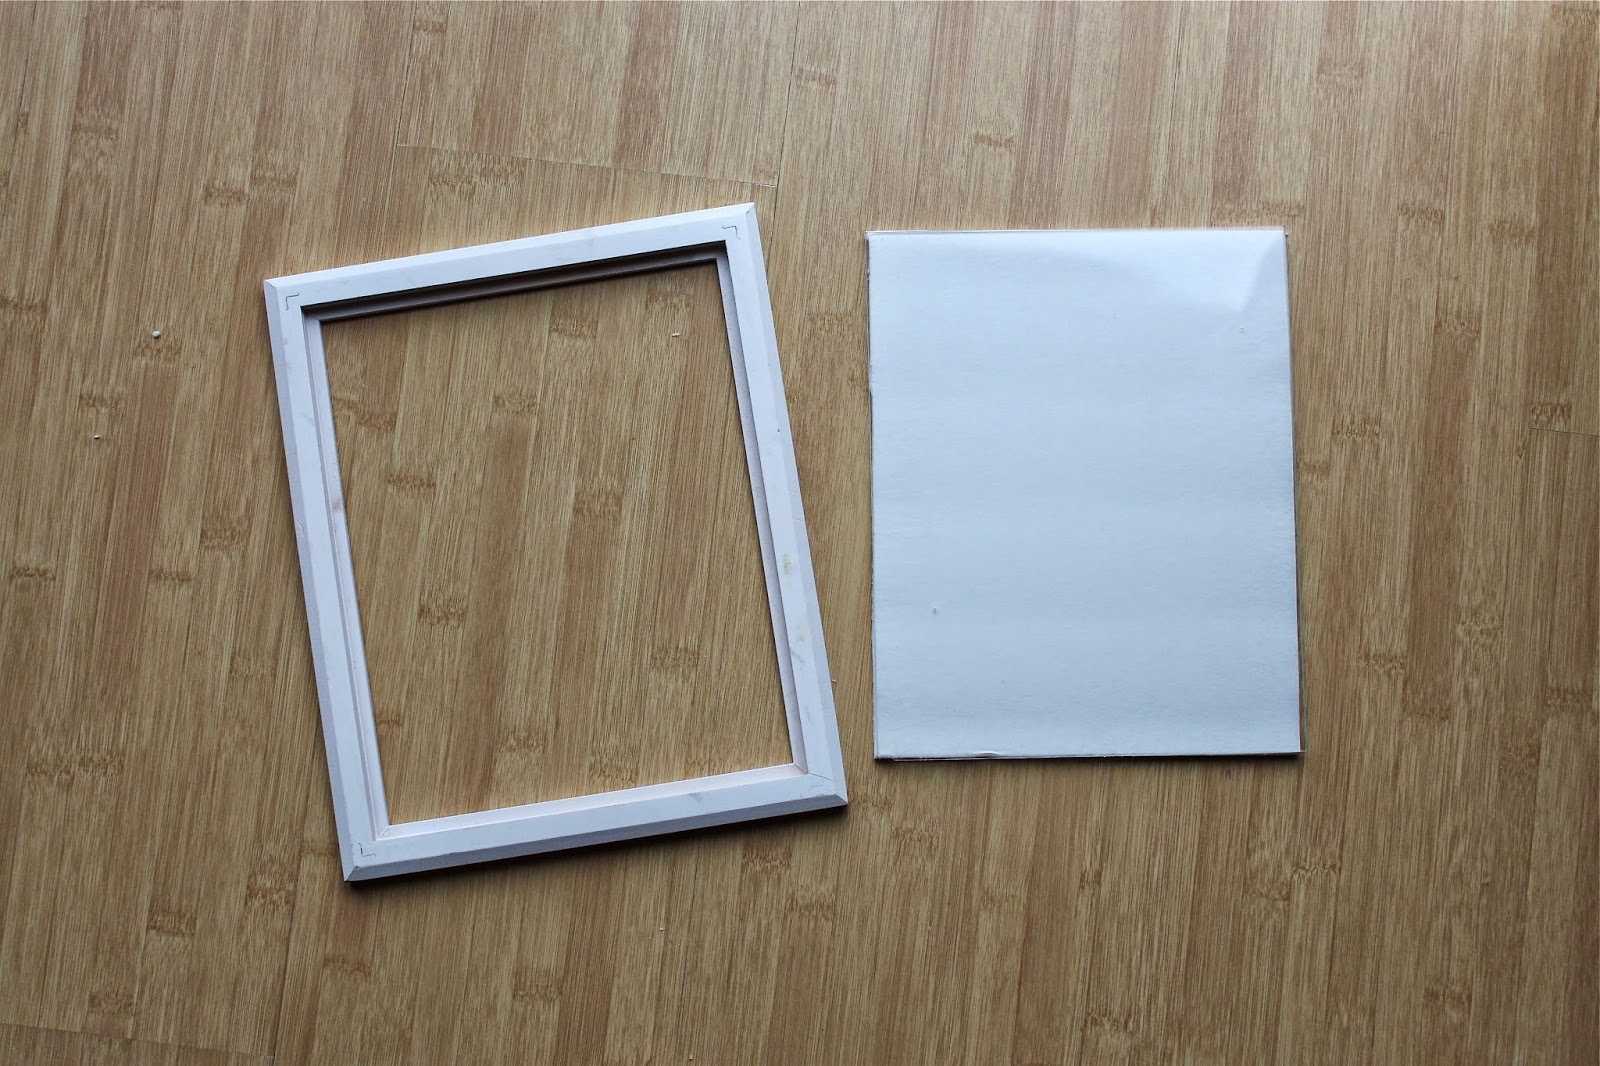
 Take the frame apart and use the glass to trace and cut your cardboard.
 Cut your burlap to be a few inches larger than the cardboard.
Fold over the edges and glue in place.  Trim any excess.  put the burlap covered cardboard back into the frame and start hanging your earrings.
 If you follow me on Facebook then you saw the earring frame I made for myself back in January.  Now you can make one for yourself, your mom, your sister....all the earring lovers in your life!

6.26.2013

Dress Pockets - TUTORIAL & PATTERN

 
 I've been making dresses like a crazy lady lately.  Using my Jersey Dress Tutorial as a starting point, I've made a couple different versions and finally tackled pockets!  It's actually easier than it looks. 

 First, download pocket pattern HERE 
(this pattern works great for me, you may need to alter to fit your hands or skirt)

Cut 4 pocket pieces total, 2 sets of 2 on folded fabric so they are mirror images of each other.

 
Lay your skirt front out in front of you.

 With right sides together, lay 1 pocket piece on each side of the skirt, making sure the top and sides lines up. Pin in place and fold the skirt in half so that you cut both pockets evenly.  Draw a nice curve and cut through all 4 layers of fabric.
 When you open up the skirt, it should look about like this.
 Sew along the curved edge.
 Turn pocket to the wrong side and press well.
 Here's what it looks like on the wrong side of the skirt front.

 Lay the corresponding pocket piece on top of the sewn pocket, right sides together.  Pin through just the pocket layers.  Sew from the top to the side.
 That's pretty much it!  You can top stitch the pocket edge if you like.  Finish your skirt or dress and enjoy your new pockets!


3.25.2013

In the Clutch - Pretty Bags and a Giveaway

My Girl's Night Out pattern has only been out a few weeks, and already it's popping up.  Here's a beautiful version that showed up in the Flickr group belonging to Jill at Homemade by Jill.  A-maze-ing to have such a great sewist and blogger make one of MY patterns.
This version comes from my local friend Sarah.  Teacher extraordinaire and mommy to 2 beautiful girls.  
And if you aren't a follower of Roselee at Jane of All Trades (why aren't you a follower?) now's the time.  She's my dear friend, busy super-mom of 2, Daisy leader, blogger, and oh yeah, she tested my pattern and made 5, yes 5 clutches! 
She'll be posting them, each with a twist, with a pattern giveaway at the end.  Check out this super springy version

I've been super grumpy this week because it just doesn't feel very Spring-likeLooking at this bag cheers me right up.  Hard to feel blue with such a pretty bag tucked under your arm.

3.10.2013

Girls Night Out Clutch - New Pattern!

 After putting together my first PDF pattern for the Mirabelle Messegner Bag, I didn't think I'd have it in me to do another pattern.  Then one night, I went out with some girlfriends and realized all my purses are big, kid snack toting, former diaper bags.  With both kids out of diapers, it was time for a cute little, going out bag. 
So I came up with this pattern, and made a few.  Well, 5 to be exact.  The thing is, the pattern requires so little fabric and hadware that making 5 is pretty easy.  You could easily make one for every outfit!
 The size is big enough to fit your wallet, keys, phone, even some tissues, yet small enough to tuck under your arm or carry on your wrist.  The side strap attaches at the top so you can just tuck it into the purse if you don't want to use it. 


 There are so many possibilities for this bag.  I show you how to add some pretty piping along the flap.
 You can keep is simple with a beautiful print.
 You can add a chunky button to the flap.
Want to make your ownYou can buy it here, from my shop,

$7


Or if you'd rather buy it through etsy, they now offer an instant download feature as well.  Get the pattern HERE.

Add your finished bags to my Flickr group.  I love seeing what you come up with!

2.22.2013

DIY St. Patrick's Day Garland

I'm not typically big on decorating for holidays.  It feels like by the time I get something out, it's time to put it away and get out another set of decorations.  We missed the boat on Valentine's Day.  But, since we're home for February break, I thought it might be time we made a St. Patrick's Day garland.
 I grabbed my big bag of felt scraps and pulled out all the green shades and some white.  I punched out a cardboard circle and my daughter and I got to work tracing and cutting.  We cut 47 circles, then laid them out in a random pattern.
 I stacked them up in order, which was really helpful when it came time to sew.  I didn't have to worry about the pattern.  Just grab the circle on top and sew.
 I left just a tiny bit of space in between each circle.  I've seen these kinds of garlands done many times, but never actually done it myself. So easy.
So pretty.
Reminds me of Spring.
Guess I can keep it up for a while beyond St. Patty's Day.  Definitely my kind of decorating.

1.16.2013

Easy Camera Strap TUTORIAL

We're going on vacation soon, and I thought it was about time I prettied up my camera strap.  I've seen a lot of different tutorials for straps, but really didn't want to make the sleeve type.  I didn't want it to slide around at all, and since I have more than 1 strap, I figured I would just go ahead and sew a cover on.  Here's what I did.

First, I measured my strap.  I wanted to cover up the little buttons on each end, so my strap measured 22 inches long by 1.5 inches wide.  Be sure to measure just the part you want to cover, not the whole strap, unless you really want to cover the whole strap.

Fabric dimensions = (strap length + 1 inch) by (strap width x 4) 

 I cut my fabric to be 23 inches long by 6 inches wide.
I learned in my first attempt that my machine was not happy trying to sew through the leather on the ends, so I decided to fold the ends to the wrong side 1/2 inch and sew in place, so the ends will already be finished.


Fold fabric in half and press.  Open it up and fold the edges to the center, so you've basically folded your fabric in quarters.
 Sandwich the camera strap inside.
 Then fold over and pin the fabric along the edge.  Sew along each long side.  Notice that the short end looks like it's already sewn down
 Pretty new camera strap!  Ready for vacation.
Did you know you can't take a photo of your camera strap unless you have another camera?  Or a mirror I guess.  I don't like taking mirror photos, I always look slightly deranged.  Thank goodness for camera phones.  

Enjoy your new strap!

12.31.2010

DIY Fabric Jewelery

I love jewelery, but often find that it looks better on others than on me. So, rather than invest a fortune in jewelery I won't end up wearing, I looked for some tutorials to make my own. Here are 2 great tutorials. I really like the finished pieces, and have actually worn them!

I found this necklace tutorial on Pretty Ditty. I made 3 colors and love them all.


I've seen these rolled flowers a lot, and I have to say, this was the best tutorial. And, she makes the flowers as a pin, so you can take it off or change it out depending on the outfit. So fun!


Need some new earrings? Try this tutorial over at Ginger, Boo and Pickles.

I made mine smaller and changed the shape slightly. I love that she uses recycled plastic. Chances are you've got everything you need to make these lying around the house.

Here's another beautiful necklace I saw recently.

Got a favorite fabric jewelery tute? Leave me a comment with the link and I'll add it to the post.