Showing posts with label cargo duffle. Show all posts

7.13.2015

Kids Size Cargo Duffle

 I love my Cargo Duffle so much, I decided to make one for each of my kids.  With upcoming summer trips and sleepovers on the horizon, they both really could use a nice, kid sized bag.  Like my version, I simplified theirs from the original tutorial from Noodlehead. I didn't do any quilting and left off all the pockets.
 
I modified the size so that my pieces were as follows:

Front/Back - 18 x 11 inches (cut 2)
Zipper Panel - 4 x 28 inches (cut 2)
Bottom/Size - 8 x 28 inches (cut 1)

Finished dimensions: 17" wide x 10" tall x 7" deep

On the exterior pieces I lined each piece with a midweight fusible interfacing. 
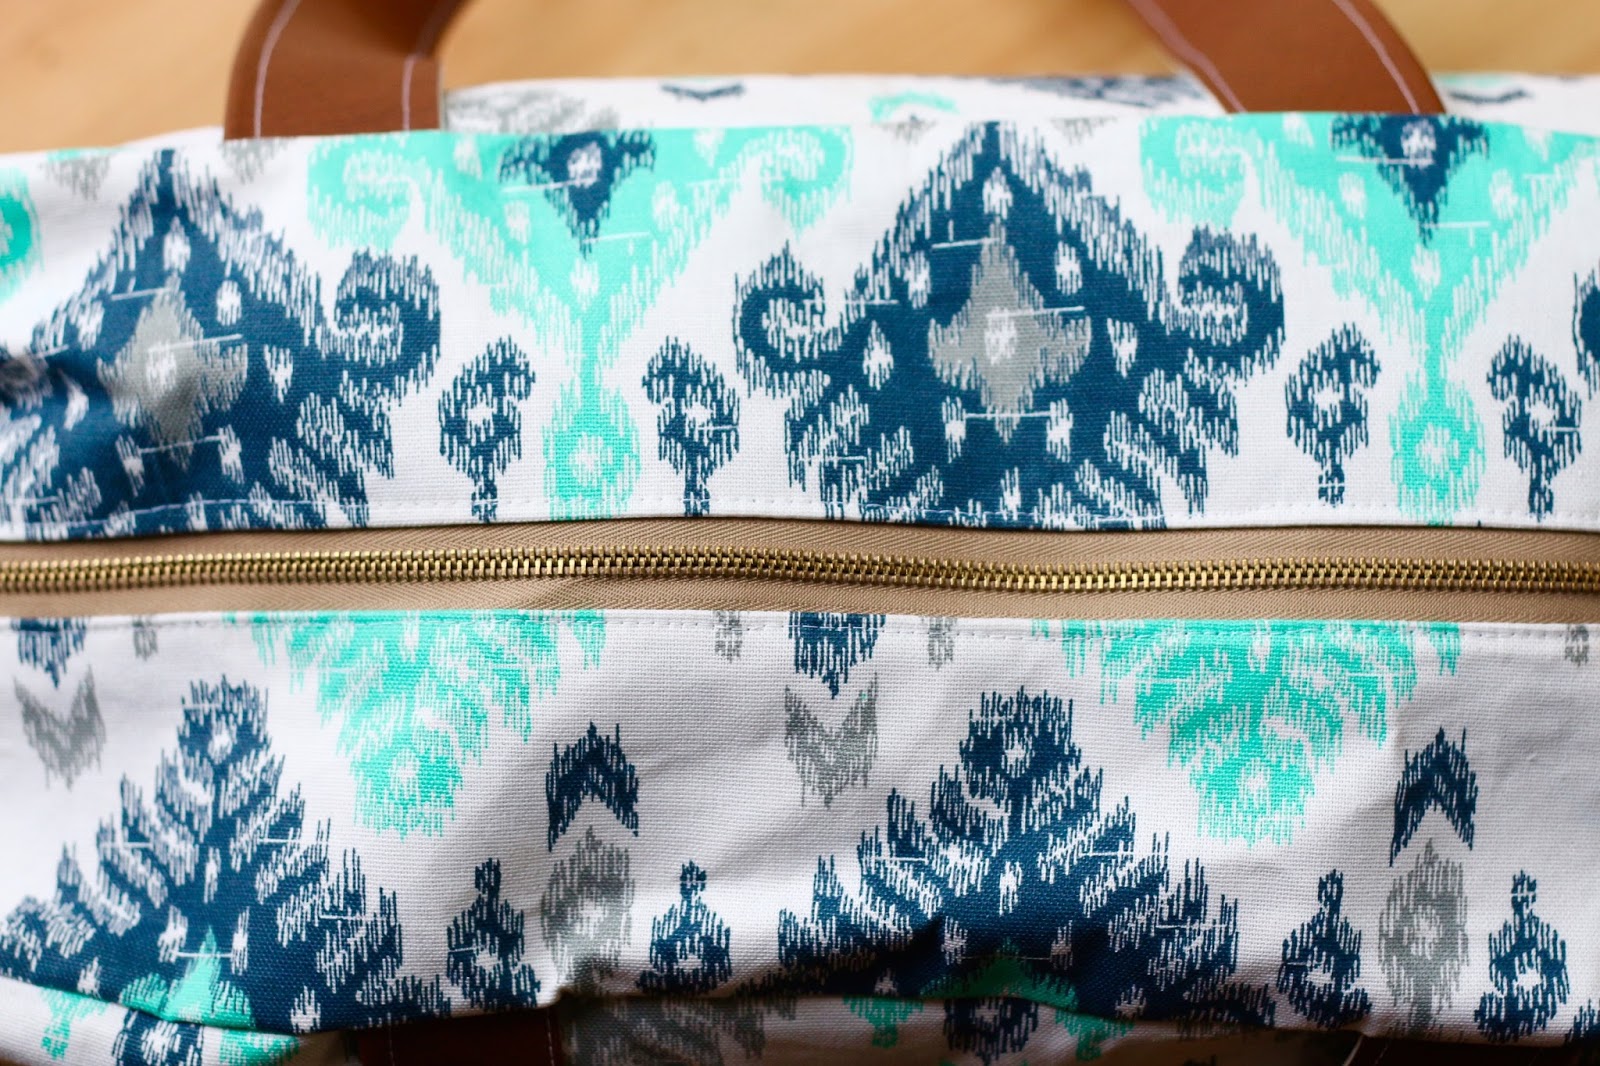
 Since my daughter chose a directional print, for the bottom/side panel, I cut the piece in half and made a seam across the bottom so that the print wouldn't be upside down on one side.
 I used upholstery vinyl, folded in half and stitched, for the straps.
I cut the lining from a quilting weight cotton and used a sew-in, heavy weight interfacing on all the pieces except the zipper panels.
I let the kids pick their own fabrics and I think they made great choices!
 
These bags came together very quickly and the kids love them!  Can't wait for our upcoming trips.

5.28.2015

Noodlehead's Cargo Duffle // Free Pattern Sewn by Me

I'm not sure how I stumbled across this free pattern from Noodlehead, but I'm glad I did.  My version is much much simpler than her version, but I'm really happy with how it came out.  I read a lot of various blogs and reviews before I started sewing mine.  
 I was totally inspired by Coconut Robot's Cargo Duffle.  Her version is beautiful.  And though I used a lot of her modifications and I love the look of the quilting, I just couldn't bring myself to spend that much time on it. 
I expanded the width of my bag using the measurements Kacia provides.  In the original pattern the finished bag is about 5 inches wide whereas this version ends up being closer to 9 inches wide.  I would definitely recommend adding the width as I can't imagine it being narrower.  This size is perfect.  
 I also chose to leave off the front snap pockets and opted for a zip pocket instead.  Adding the zip pocket was a lot easier and I like the look better as well.

Another change I made was making the handles out of upholstery vinyl.  I just cut a 4 inch wide strip, folded it in half and sewed down both sides.
To finish off the bag, I added a lining and used a heavy weight sew-in interfacing on the side and bottom panels.  The bag ends up having great structure, but is still lightweight.  I took this bag on an overnight trip recently and it was the perfect size for all of my husband and my stuff. 
I'm so happy with how this bag came out and happy with all the changes I made.  If you give it a try, I'd love to hear what you think.