7.28.2013

Girls 2-Piece Swimsuit - TUTORIAL & PATTERN


The stars aligned and I finally got the time to put it together.  As promised, here is an updated and upsized pattern and tutorial.  Please refer to my original swimsuit post for more info.
 
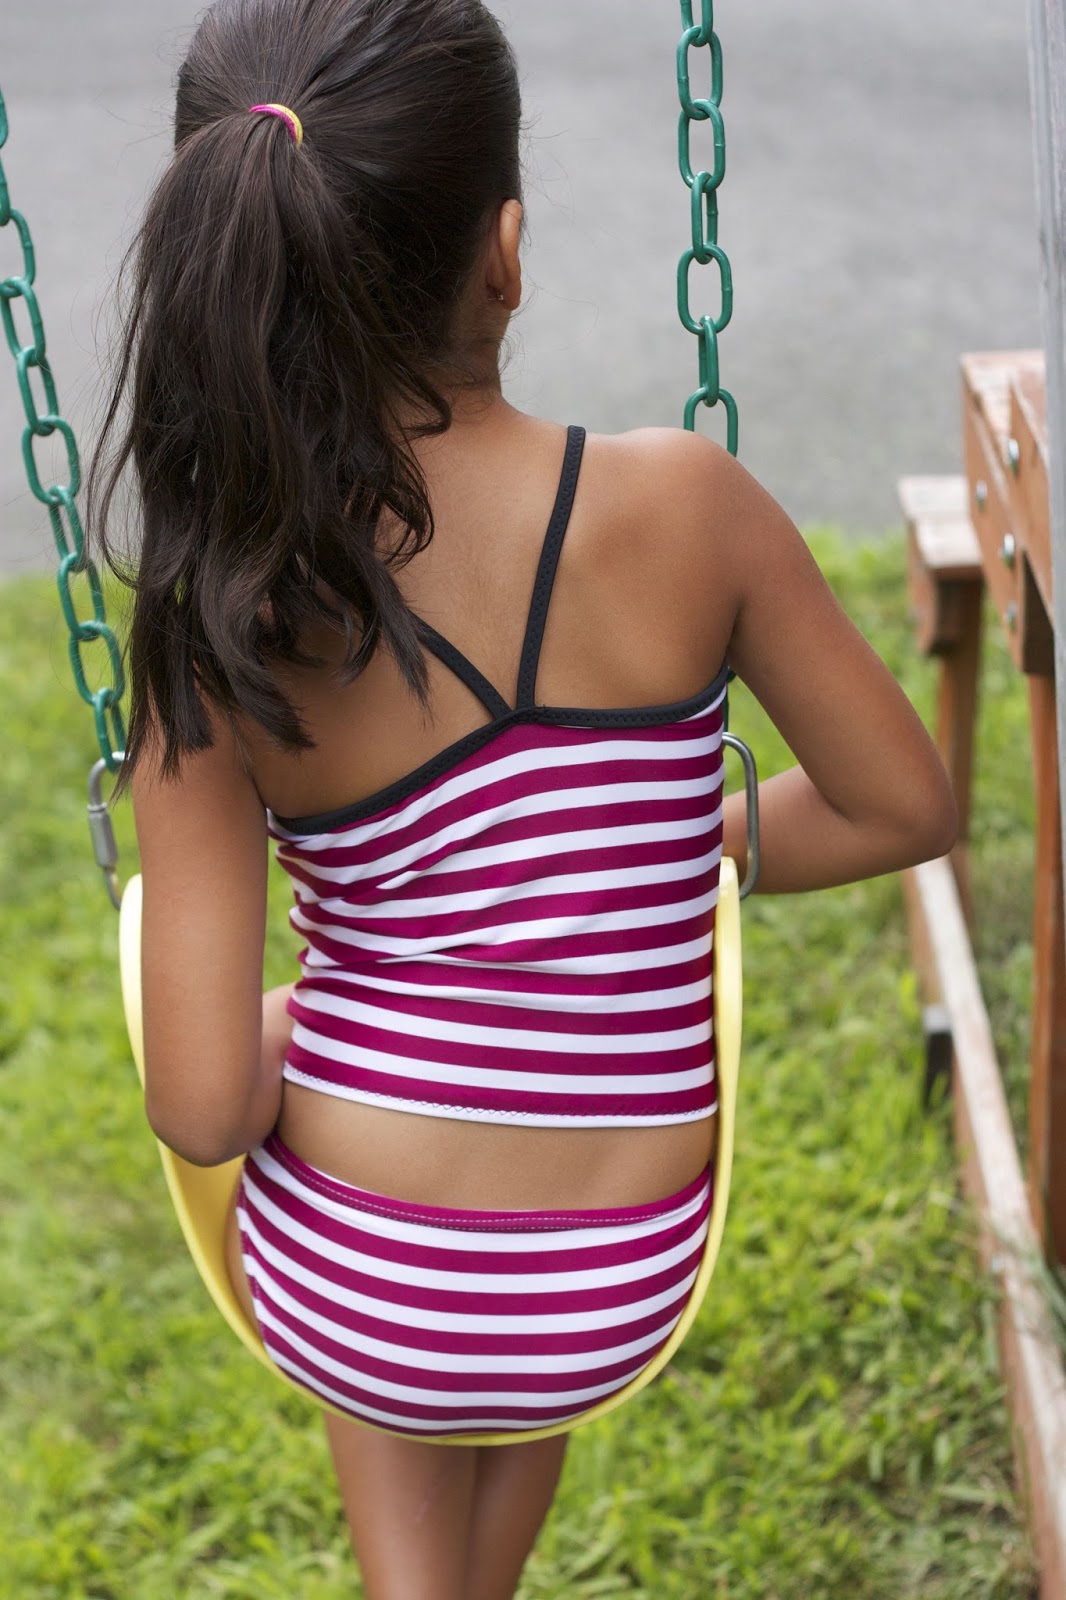
This pattern is a two-piece and fits my tall and skinny, almost 7 year old, well.

You will need:
approximately 1/2 yard of swimsuit fabric
approximately 1/2 yard of swimsuit lining fabric
2-3 yards, 1/4 inch elastic
optional - contrasting swimsuit fabric

Seam Allowance = 1/2 inch

Download and print pattern HERE.
 Cut 1 front and 1 back of swimsuit top.  I typically only line the front, so I just cut 1 lining piece for the top.  Layer the pieces as shown, and sew down each side.
 My daughter is a big fan of ruffles, so I just gathered up a piece of fabric, hemmed it, and sewed it across the top.
 Cut a strip of fabric that is 1/2 inch wide (you don't have to use a contrasting fabric) and sew to the right side at the top.  Sew a piece of elastic on top of that.
 Pull the fabric tight over the elastic and to the wrong side and top-stitch.
 Trim the excess on the inside....hopefully more neatly than I did :)
 Measure around the back of the swimsuit top, from arrow to arrow.  Add about 16 inches to that measurement. Cut another strip of swimsuit fabric (again, doesn't have to be contrasting) that is 1.5 inches wide by your back measurement plus 16 inches.  With the strip centered so that an equal amount (should be about 8 inches) is extending from each top point, sew around the top of the suit.  Sew elastic on top of that.  
 Topstitch (I used a zigzag stitch for extra stretch) and trim the same way you did before.
 Have your little on try on the top and figure out how long you want the straps to be and sew to center back to secure and hem the bottom of the swimsuit top.
 Now for the bottoms.  Cut both front and back bottom pieces from main fabric and lining.  Sew crotch and side seams.
 Put them together with wrong sides together.  I like to sew the lining and main fabric together at the top and leg opening because the fabric is so slippery, it helps to keep it in place and I'm really bad about pinning.
 With the lining facing out, sew elastic around the top and each leg opening.  For the top and the front of the leg openings, I don't stretch the elastic at all, just sew it flat.  For the butt, you want to stretch it slightly.  This will help the bottom turn in and hug the bum nicely.  Turn the bottoms right side out, fold the elastic to the inside and topstitch.  I used a twin needle for topstitching the bottoms.
 Considering I rushed through this one, it came out pretty great.
 Miss M. was happy.  She really prefers a two-piece for the bathroom convenience.  And, she shares my love of stripes.

7.24.2013

Gardening in a Small Yard

Last week I promised to share an updated Girls Swimsuit pattern, and somehow, the time has gotten away from me.  The pattern is set and ready to go, I just need to take a few more pictures.  So tonight I sat down to do just that, only to find, I'm out of lining fabric.  So, the swimsuit post will have to wait.  In the meantime, I thought I would share some photos from our garden and talk about gardening in a small yard.

We love our house and neighborhood.  The only downfall is that we have a very small yard.  There's a steep drop-off in the back which is fun because our upstairs windows are almost at tree level, but doesn't give us much room for a large garden.  In years past we've signed up for a CSA share at a local farm.  But this year, we decided to see if we could make it work in our yard.  And, we've finally had some success.
In the Spring, my husband built a few raised beds and we had a local farm deliver some loam and compost.  Some plants we bought and some we grew from seed.  We set aside some space to let the kids plant for themselves. They've really enjoyed watching, taking care of, and eating from their very own garden.

It's amazing how much you can fit in a small space.  We've got 5 broccoli plants that somehow have survived the bunnies and woodchucks.
 A few different kinds of peppers.
 Probably about 5 cherry tomato plants because my kids could eat tomatoes for every meal. 

 3 eggplant plants that are so beautiful.
 A few sugar snap pea plants that though they didn't get as big as we were hoping, still have been producing a decent amount.  We also put in a bunch of lettuce, carrots, beets, and a ton of basil.  I see quite a bit of pesto in my future!

I think the key to gardening in a small yard is to work the garden into the landscape.  We have 2 small apple trees along the edge of our yard that help to provide a natural border.
We also have a large patch of red raspberry bushes that work as a natural fence.  Once these start to ripen, we almost can't keep up with the picking.
 Some wild black raspberries creeping in from the surrounding woods.
 A few years ago, we added the garage on to our house and were left with a large exposed concrete foundation.  We decided to plant grapes and kiwi-berry vines to hide the concrete.  And in just a few years, we've got an amazing amount of fruit waiting to ripen.

As I'm write this post, the funny thing I'm realizing is that though we grow a lot in our yard, very little actually makes it in the house.  The tomatoes, raspberries, and grapes get eaten in between bike rides and swinging, right off the plant. Nothing like a warm, sun-ripened tomato right off the vine.

Thanks for staying with me as I ramble on about my garden.  I promise to be back soon with the promised swimsuit pattern.

7.13.2013

Sewing School 2 - Book GIVEAWAY at Jane of All Trades

 
Roselee over at Jane of All Trades has an awesome giveaway going on right now.
 

She and her daughter E review the new book, Sewing School 2: Lessons in Machine Sewing. And, they are giving away a copy.


Being the generous lady she is, she's also giving away a pack of these cool pens, to 2 lucky entrants.  And how timely given that I recently confessed my secret habit of using permanent marker on fabric.  These pens erase with friction or heat.

So to recap, 3 lucky winners, 1 amazing book, very cool pens.

Go HERE to enter now! 

Giveaway ends July 16, at midnight Eastern time and is open to US residents only.

7.12.2013

Guest Posting at Make It Handmade


Today I'm guest posting over at Make It Handmade as part of Palak's Handmade Confessions Series


Go check out what I have to confess....

And don't miss Palak's great serger tutorials.  It's one of the best serger resources I've found.

Have a great weekend and be sure to check back next week when I hope to share an updated pattern for my Girls Swimsuit Tutorial.

7.08.2013

Backpacks Are BACK....

 and they're better than before!

Last year, I sized up the Made by Rae Toddler Backpack for my kindergartener.  And now, for a limited time, I have a few for sale in my etsy shop.

Here are a few of the features of this enlarged and improved backpack.
Backpacks are fully lined with a medium weight cotton canvas and all seams are serged for extra durability.
 Each backpack has a 14 inch, heavyweight, sport zipper which is more durable and also a little easier to zip.

 These packs are 13.5 inches tall, 11.5 inches wide, and 4.25 inches deep.  The size fits a folder, lunch box, and snack pack perfectly.
 
Here the backpacks are shown on an almost 7 year old and almost 5 year old.  I wanted the backpack to be big enough to hold the essentials, but also small enough to be manageable on the bus and at school.

So get them while they last!