
 Double boiler (can use just a regular pot, but be careful not to burn the milk)
metal spoon
kitchen thermometer
milk (any fat content will work, I used non-fat)
yogurt starter (any plain yogurt with active cultures)
 If you're using a double boiler, boil the water with your spoon in the pot to sterilize it. Since you're going to be leaving your milk out for 7 hours, you don't want to "contaminate" it. I don't actually know how necessary this is. I read that you should do this, but my parents don't and never have.
 Add your milk to a pot and bring the milk to 185F while stirring. If you don't use a double boiler, you have to be very careful not to burn the milk.
 Place the pan with the milk in a bowl of cold water and allow it to cool to 110F. Make sure to stir occasionally so that it cools evenly.
 At this point I warmed my oven up a little. Just set it to the lowest setting and turned it off after about 5 minutes.
Once the milk cools to 110F, mix in 1-2 tablespoons of your starter, which can be any plain yogurt with active cultures. I think you can buy powdered yogurt starter too, though I'm not sure where.
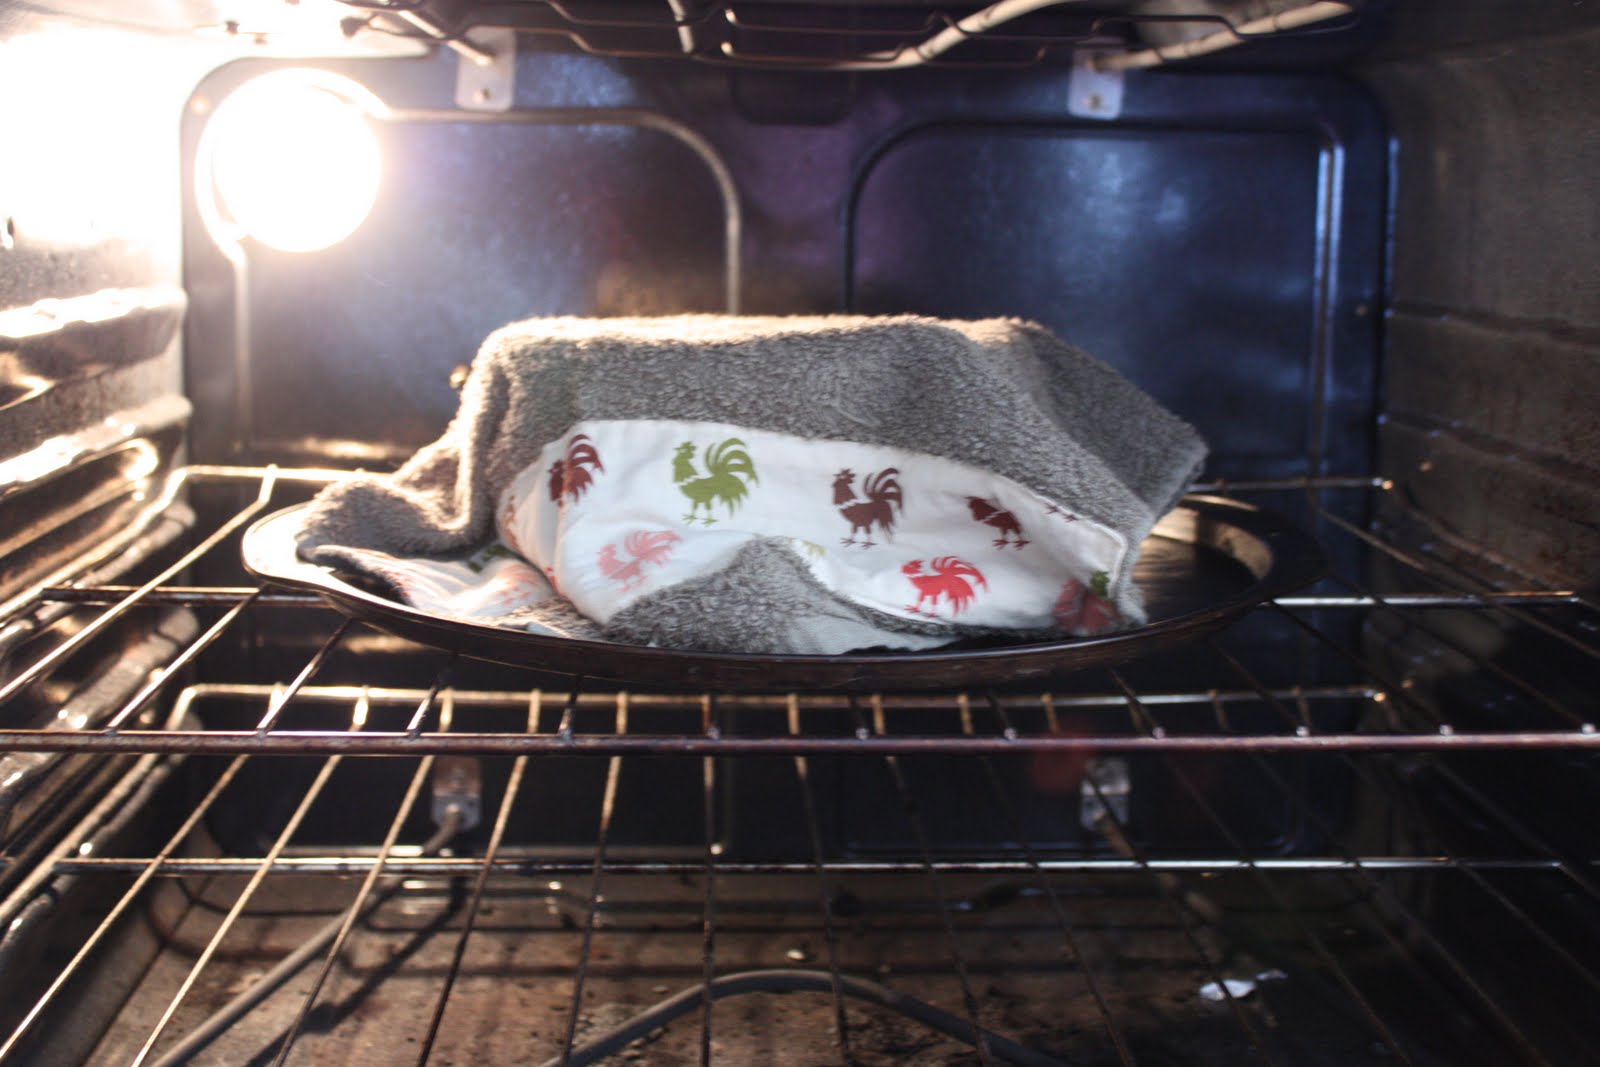 Now you want to "incubate" your milk and cultures. Sorry, the scientist in me is creeping in. I wrapped a towel around my container and kept the oven light on to keep it warm in the oven. I think ideally you don't want the temperature to be above 100F and you want your container to sit undisturbed for 5-7 hours.
It was soooo hard for me to not open the oven and check...
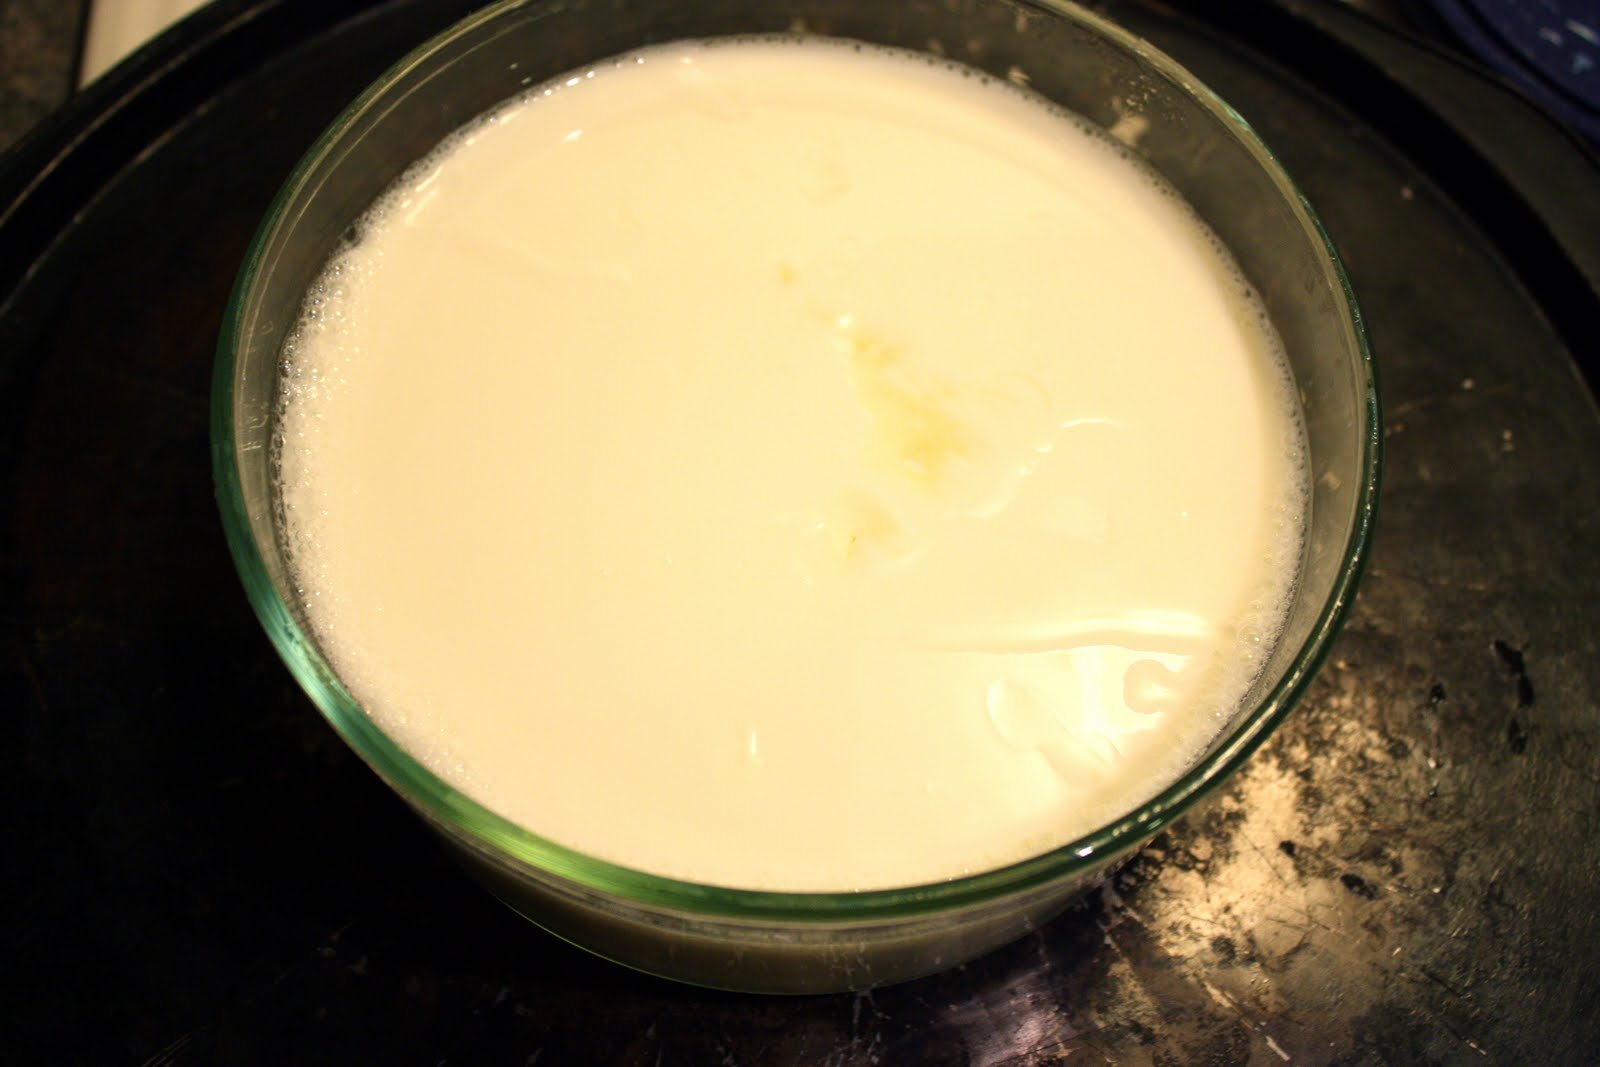 But, I was able to exercise some restraint and checked after the 7 hours and voila, I made yogurt! It's hard to tell from the photo, but it's solid, and has a little liquid on top. At this point, you stir it up and refrigerate and you can be done. You've got homemade plain yogurt.
I decided to go a step further and make mine into that luscious creamy "greek" style yogurt. Basically all you do is remove the liquid by straining it through a coffee filter.
 Place the coffee filter in a colander over a pot. Add the yogurt and wait a few hours.
 It goes from this
 to this.
So,the scientist in me can't help but do a little math. I started with 7 cups of milk, a little less than half a gallon. I ended up with 4 cups of greek yogurt. Here in W. Mass, a gallon of organic milk costs about $4.00 and would make 8 cups or a half gallon of organic greek yogurt. The greek yogurt I buy costs about $3.50 for 4 cups (32oz). So, the savings for making your own is about $3/gallon. Not a huge savings...but still something and fun to do.
The kids enjoyed helping to make and eat our homemade yogurt. We all enjoyed a bowl with maple syrup at lunch.

I had mine with maple syrup and pecans. A yummy and healthy treat.
 Note: If you want to keep making yogurt, you should save a little each time to use as starter for the next batch.
Enjoy!
Sounds delicious! And, nice crown on the little guy. :)
ReplyDeleteI am so glad you posted directions how to make yogurt. My mother in law makes homemade yogurt every night as well (she is originally from New Dehli) and she's shown me how to do it but having directions like this is so helpful.
ReplyDeleteThis is great! I followed you over from No Big Dill as I was curious about your recipe. I was going to try some Scandinavian style room temperature yogurt, and I still will, but I am also going to try your recipe!
ReplyDeleteIt might not save a ton of money to do this but I do believe every bit counts (I make our own laundry soap), and I also love the idea that there's not the crazy sugar content that can be found in most off-the-shelf yogurts...even the supposedly "plain" ones. With this we can add fruit, nuts and honey and it'll be just gorgeous. Thank you for sharing!
I wonder if this work with soy milk.......anyone know?
ReplyDelete