 In all the years I've been sewing, I'd never heard of pattern weights until I saw them on Project Runway.....and I just started watching Project Runway this year! So, I decided I needed some and thought, I can make those! Little did I know that they would be a great addition to my sewing room for more reasons than one....
.......the kids love to play with them too!
 Here's how to sew some up for yourself.....or your kids.
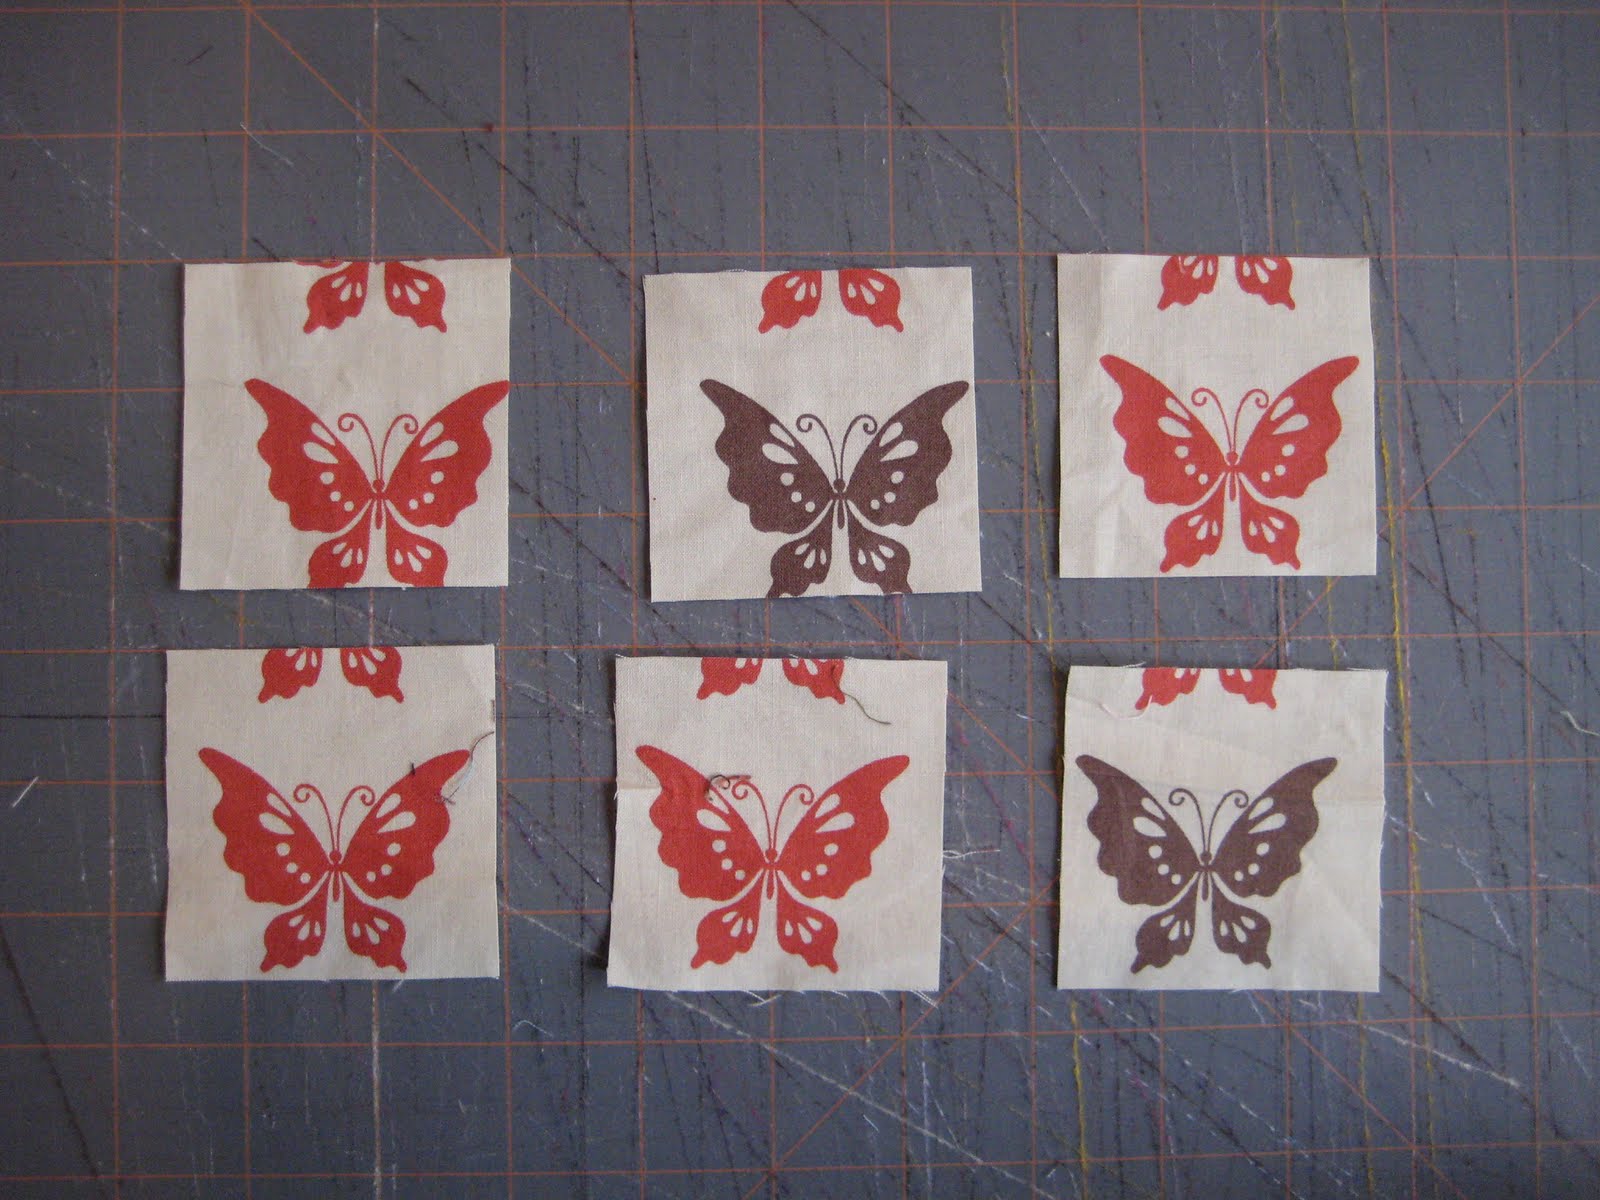
All you need are some fabric scraps and some kind of bean for filling (and a sewing machine, of course....does that go without saying?). A ruler and rotary cutter are helpful but not necessary.  Cut 6 fabric squares that are 2.5 x 2.5 inches. You can make them bigger or smaller if you want, but I found this size most doable and useful.
  With 1/4" seam allowance, sew 4 squares together in a line.
  Attach 2 squares on either side of the square in the second position to make sort of a lower case "t".
  Now we're going to start making it into a cube. Ultimately you'll put together the sides as shown with the arrows, and end up with sort of a jack in the box.
  Here's how it looks after sewing up 2 sides.
 Sew the next 2 sides as indicated by the arrows. You'll end up with a box with a top. Now you just need to attach the top.
 Sew up the last 2 sides and halfway on the third side, leaving enough of an opening to turn the cube right side out.
 Here's the cube turned right side out.
 Fill it up with some kind of bean. I usually like to use some kind of small lentil. I don't actually know what these beans are. My husband bought these because they were cheap and I was commissioned to make 25 pumpkin bean bags for a Halloween party....
 Using a needle and thread, blind-stitch the opening closed.
 And, you're done! Makes a nice set....and a nice gift for a friend who sews, or a child, or a juggler... Seriously, these are great for juggling.
 No more pinning patterns.....

........if you can keep your kids hands off of them!


 Sorry about the photo quality, I've been having issues with taking photos in low light lately....which will hopefully be resolved when I get my new digital-SLR this weekend. An early b-day present to myself!
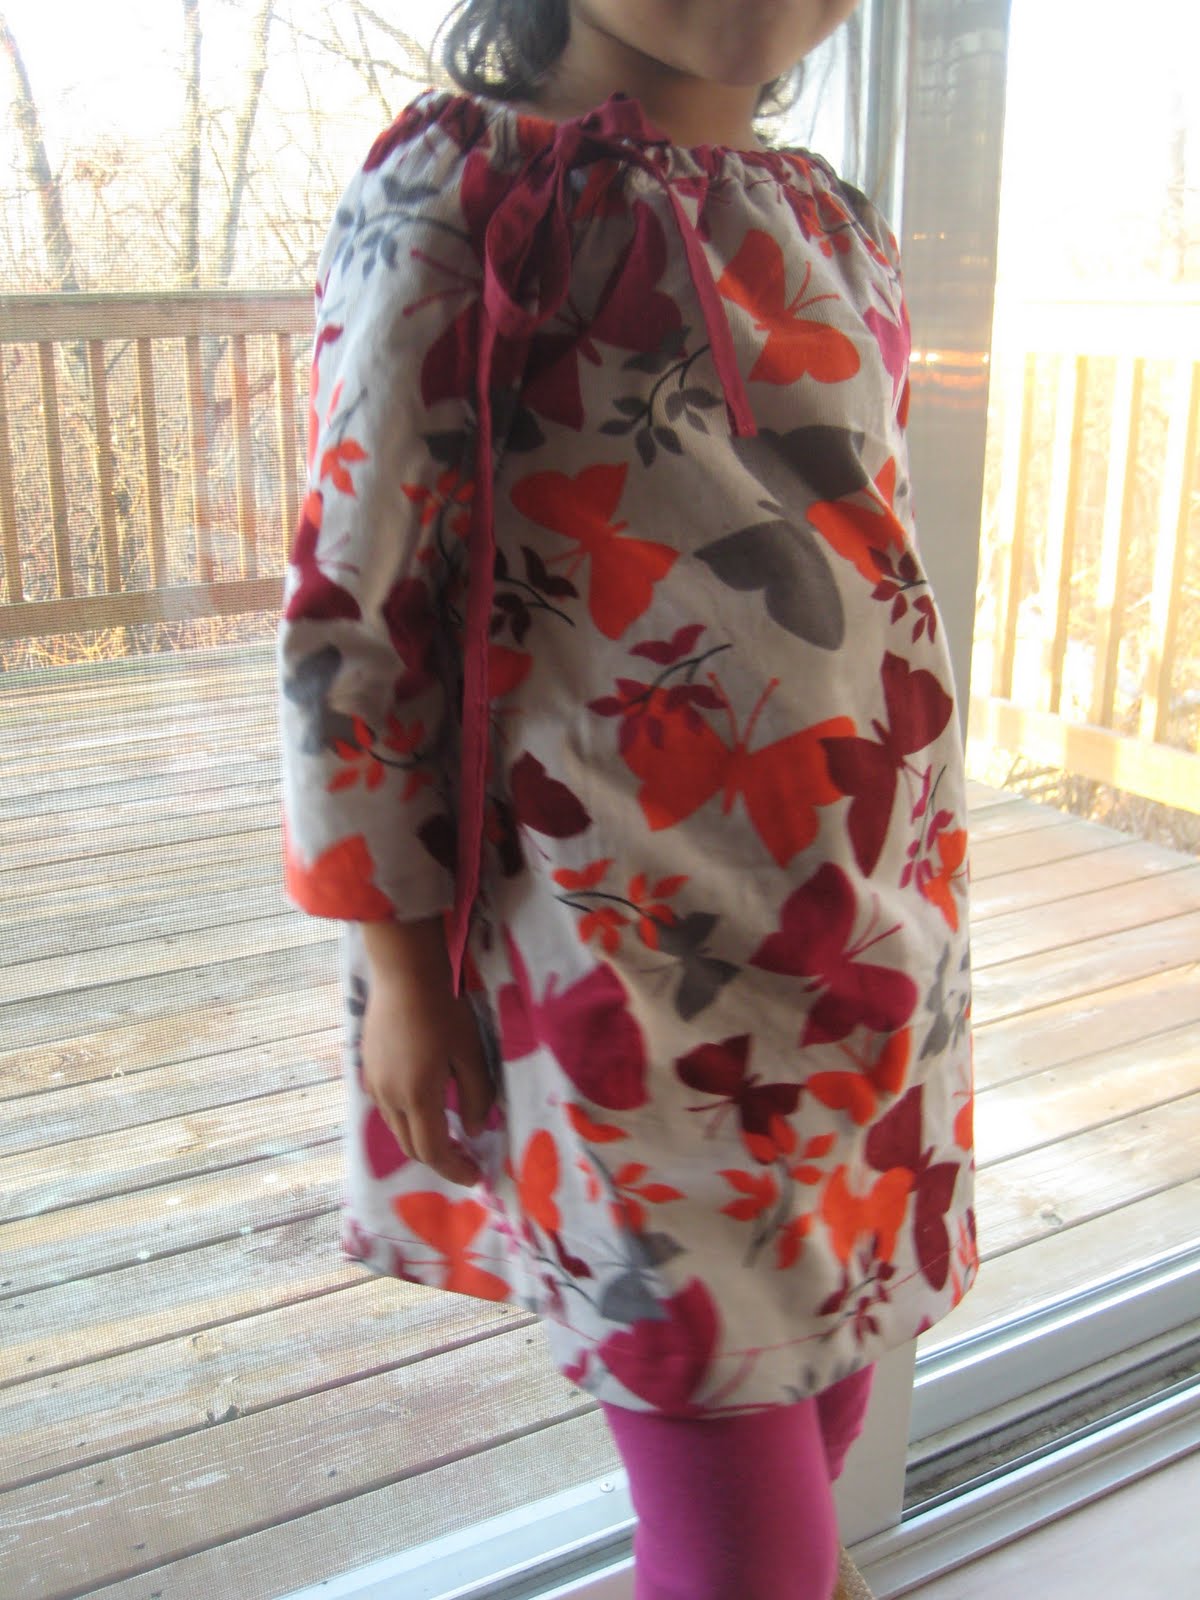 I think it looks really cute. I did have to bribe her to get the photos, and she got a little upset putting it on....a little tight in the chest. But when she got to school this morning, there were many oohs and ahhs from her little friends.
 This is my new favorite dress to sew, so.....we'll see how long I can keep the little one off the dress boycott.


