1.28.2012

Simple Washcloth Tutorial

I don't know about you, but we always seem to have a shortage of washcloths in our house.  We use them for everything from wiping counters to washing faces.  

This tutorial is more about inspiration and a little tip since sewing a washcloth is about as easy as it gets.
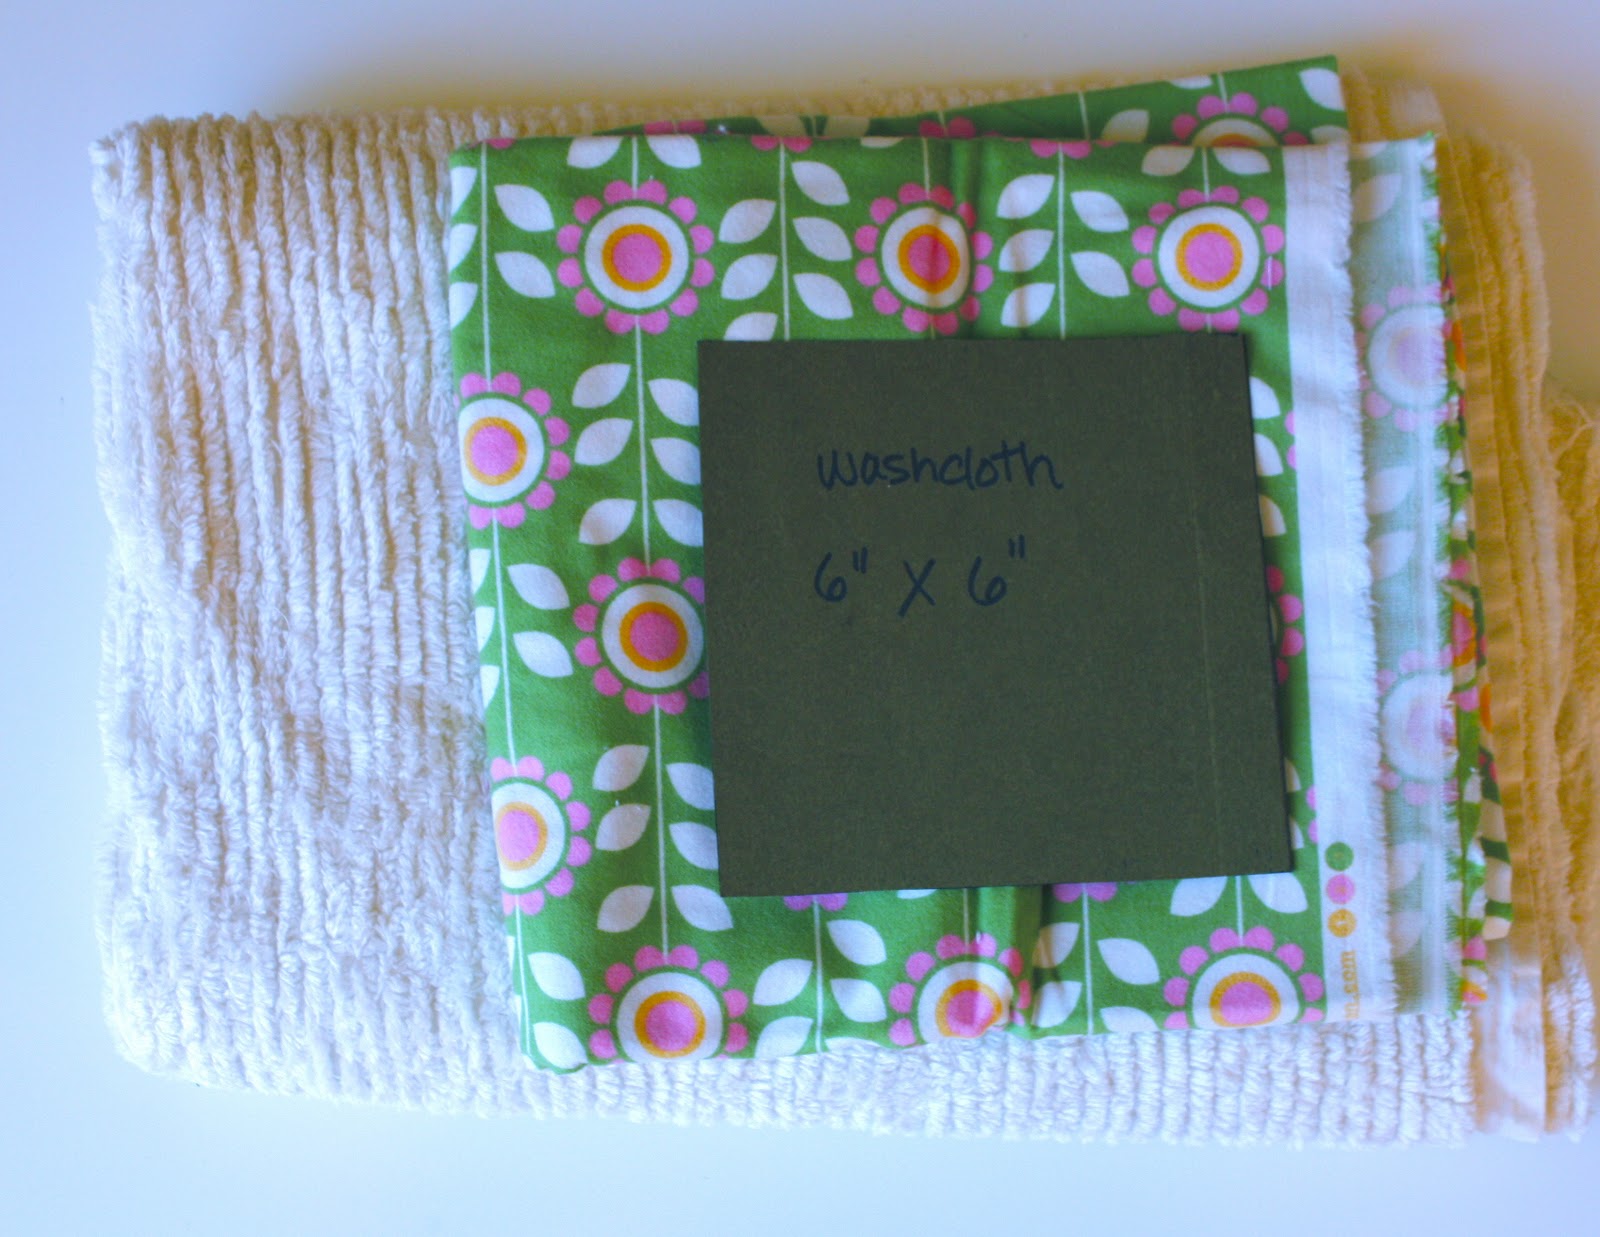
I used a 100% cotton chenille that I picked up on vacation and cotton flannel. 
I made a template from my stash of file folders, 6 inches by 6 inches square.
 Lay your fabric right side together and trace the pattern.  Here's the trick.  See those 2 blue lines perpendicular to the pattern?  That's the opening and you want to actually sew on those lines.  What this does is pull that seam allowance down and make it easier to sew that opening closed when turned right side out.
 Sew just inside your traced lines and trim.
 Turn right side out and press.  See how you can't tell where the opening was?
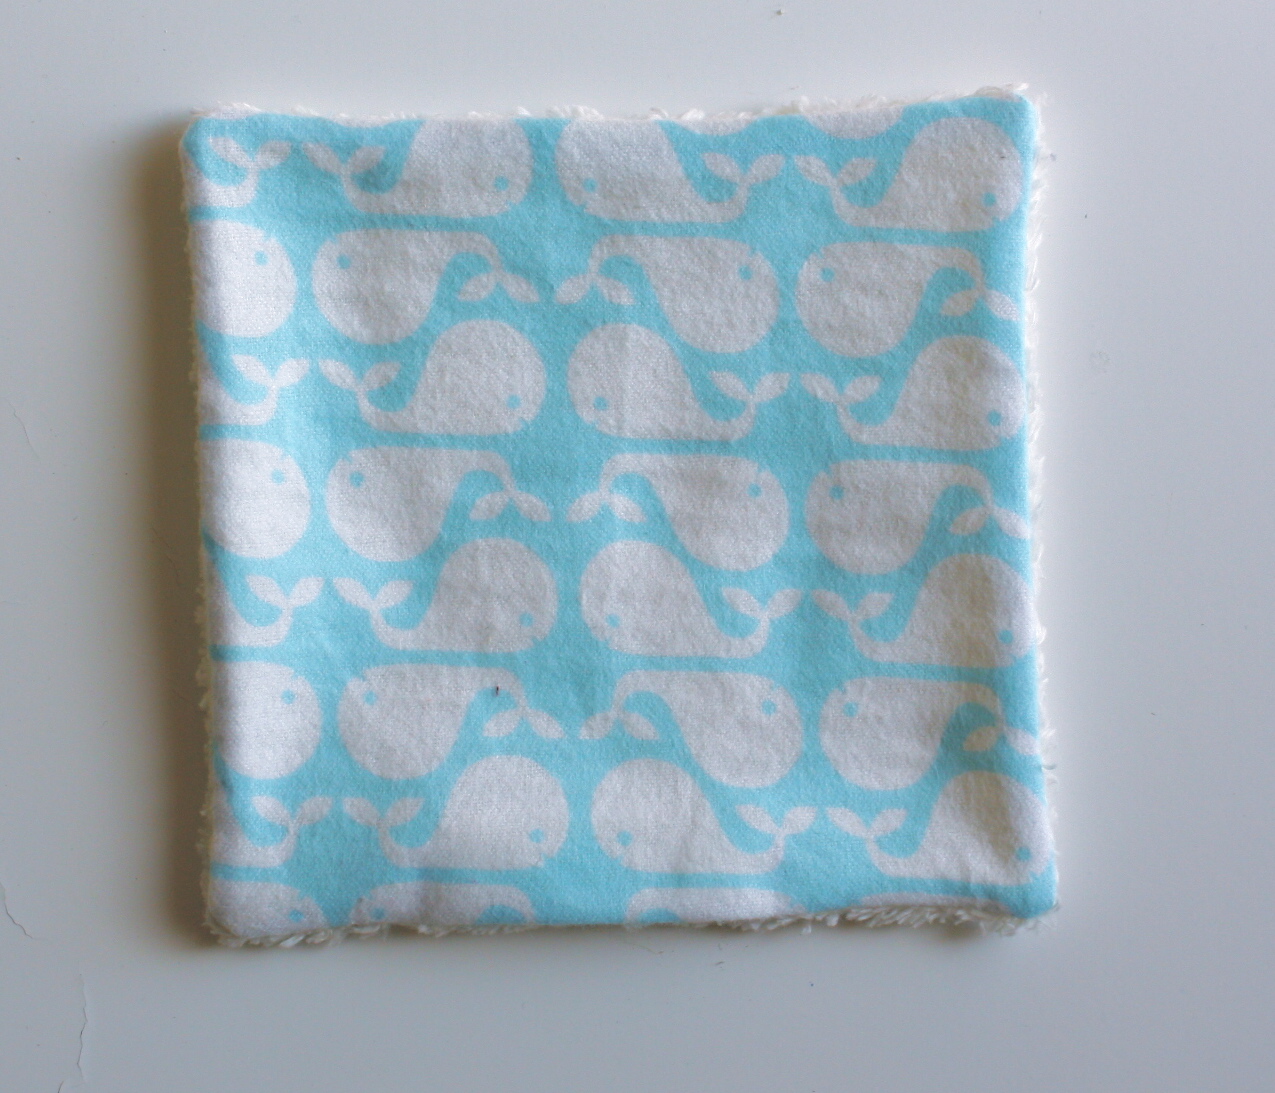
 Top-stitch around the perimeter.  I also folded the washcloth in thirds and sewed 2 parallel lines to keep the layers together better.
 Super easy!

How cute would these be wrapped up for a new baby?
Here's to easy projects!

1.22.2012

Jane of All Trades Giveaway-CLOSED


Have you checked out Jane of All Trades yet?  Well, now is the time to do it.  Not only is her super cute chalkboard mat being featured over at Sew Can She, but she's also having a giveaway.

 Here's just a peek at some of her cute projects.


So head over here before Friday, 1/27 to enter to win this beautiful bag.

Then come back and let me know what you think.

1.21.2012

A Little Fun in the Sun

We are on vacation this week, and are thoroughly enjoying ourselves.

We've dipped our toes in the sand and ocean.

And seen some really cool wildlife.


And what trip would be complete without a little fabric shopping.  All these fabrics are from Joanns, but ones I haven't been able to find in my local store.  

The perfect souvenir for me.

1.10.2012

Winter Vacation Shorts Mini-Tute

We'll be flying south soon for our annual winter vacation.  So in honor of Rae's KNITerview series, I thought I'd put together a little tute for some knit kid shorts.  Now if you read my KNITerview, you'll see that in my humble opinion, the easiest way to sew knits is on a serger.  But, there are tons of resources out there for sewing knits on your standard sewing machine.  And most people, other than me, do this with great success.  Here's a great post at Prudent Baby. 
I'm calling this a mini-tute because I'm not going to show you how I made my pattern.  Dana over at Made has a great tute for this. 

On to the shorts.  I made my pattern from shorts that fit my daughter.

Lay out your pattern and cut 2 front pieces and 2 back pieces with your fabric folded.  For these shorts I used about 1/2 yard rib knit I bought at Joanns. Rib knit has a nice stretch and is a good medium weight.  You could also use interlock or a thrifted tee.
 

Sew the back to the front (right sides together) at the crotch and on the sides for both legs.


This is what you should end up with


Turn one leg right side out and insert into the other leg, with right sides together. Sew from one arrow to the other.  


Turn right side out.  Super easy and almost done. 

Measure all the way around the waist and subtract 1 inch.  Mine were 18 inches around, so I cut a waistband that is 17" by 3 inches.  

Sew the short ends together.

Fold in half with the seam on the inside and iron.  Mark the center on the front and back, and side.

Match your marks with the side and center front and back seams.  Your shorts will be wider than the band.

As you sew, stretch in between the marks to make the band fit.

Now you just need to hem, and you're done!


For these, I did a lettuce edge on my serger.  From an Igloo has a nice tutorial showing how to do this without a serger. 


Or you can just do a regular hem.


Now we're ready for our winter getaway, though it hasn't really felt like winter here.  

Hope you're enjoying the winter where you are.

1.06.2012

Laptop Sleeve


We're going on vacation soon.  I'm typically a light packer. But I've realized that it's not so much clothing I need space for, but my computer, camera, lenses, iphone.....


So rather than carry my laptop bag, I made my computer it's own, little pouch.


I almost can't wait to whip this out at security...I can hear the ooohs and aaahs already.

My little assistant was smitten with the colors as well.  I had to remind him that this is mommy's toy.


I used this tutorial for the measurements, but ended up putting it together more like my diaper sleeve.  

Stay tuned for my KNITerview at Made by Rae next week. 


Happy weekend!

Have you Heard the News.....KNITerviews

If you haven't been over to Made by Rae recently, you need to head over!  She's featuring a series of interviews about sewing with knits. 

My KNITerview will be up next week, so stay tuned.  I'm hoping to put together a few tutorials to go with the series....so I better go work on that :)

Have a wonderful weekend and be sure to stop by next week.