

On Thursday we may take gondola trip up to the glacier, so I'll post more pictures then. And oh yeah, the work part is going well too ;)
Hope everyone at home is doing well!


 And here's what I made:


 I made a lot more clothing that I didn't get around to taking photos of, but I'm proud that I am actually making a dent in my stash, resisted the urge to go to the Salvation Army today on 1/2 price day, and my kids are looking cute and enjoying their new clothes!
 My coworker Stefanie mentioned the other day that she was having trouble finding a clutch to match her shoes and dress for her brother's wedding. I of course said "I'll make one for you!" It was a fun project to work on, took very little time, and she and I were both very happy with the results. Here's what I did.....


 When all your tubes are turned, press them flat. Now you are ready to assemble the frame.
 Then fold the side down the way it will be when finished. Finger press (or press with an iron). This is to mark where the seam should be to sew these pieces together.


 Press seam open on the front and back.
 Repeat with the rest of the sides.
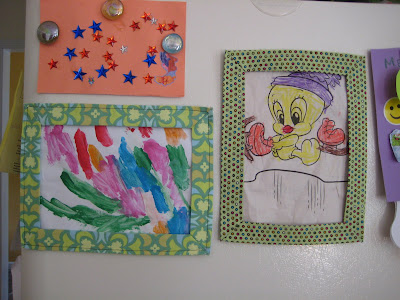
 Here it is with all sides sewn together. Now you can embellish as you see fit. I like to add a top-stitch around the outer edge to help it hold it's shape.


 And, in case you were wondering, I ran out of snaps, so for now, they've got a pin holding the crotch closed. Gotta make a Joanns run tomorrow :)
 Here's a tutorial from another one of my favorite sewing blogs, Made. Dana has a great tutorial for summer scarf that is a simple addition to any outfit and also makes a great gift. I played around with different fabric and techniques and did 2 slight variations on her tutorial, mostly because I was feeling lazy and didn't want to turn and sew the sides of the scarf. For the first, I used a green light-weight cotton gauze and sewed a tube, turned it right side out, ironed the seam to the bottom center, and then shirred it up the middle. Very quick, no sides to hem. This only works on a very light fabric because the shirring won't gather up well on heavier fabrics.
 For the second, and my favorite, I used a lightweight fuschia swiss dot and finished the edges with the picot edge stitch on my serger with contasting white thread. Then I shirred it up the middle and voila, another great summer scarf. Super easy and very cute. Thanks for the great tutorial!