

If the outside of your fridge looks anything like mine, it's covered in kid's artwork. I came up with this magnetic frame as a nice way to display some of those wonderful kid drawings while still having a nice looking fridge.
Here's what you'll need to make one of your own:
4 strips of fabric, 2 3" x 11", 2 3" x 8.5"
4 strips of featherweight fusible interfacing, 2 1" x 11", 2 1" x 8.5"
4 magnets

Cut your fabric pieces and fuse interfacing to the wrong side of fabric strips, about 1/4" from one raw edge. This keeps the interfacing out of the seam and keeps it from getting too bulky.

With wrong sides together fold fabric strips in half lengthwise. Sew along the raw edge with a 1/4" seam allowance creating a tube.

Turn tube right-side-out. My good friend Roselee at Jane of Alll Trades showed me a great trick for easy tube turning. Attach a safety pin to the end of a scrap of bias tape. Thread the tape through your tube and attach the pin to the side of tube without a seam. Pull the bias tape while helping the fabric through. When your tube is turned, remove the pin and do the next one!


 When all your tubes are turned, press them flat. Now you are ready to assemble the frame.
Lay out your pieces in the shape of your frame. Now take one side and lay it on top of the side it will be attached to.
 Then fold the side down the way it will be when finished. Finger press (or press with an iron). This is to mark where the seam should be to sew these pieces together.
Mark the seam with a marker and sew along this line.


 Press seam open on the front and back.
 Repeat with the rest of the sides.
 Here it is with all sides sewn together. Now you can embellish as you see fit. I like to add a top-stitch around the outer edge to help it hold it's shape.
The last step is to flip the frame over and glue a magnet in each corner. I used my hot glue gun, but you could probably use any type of tacky glue.

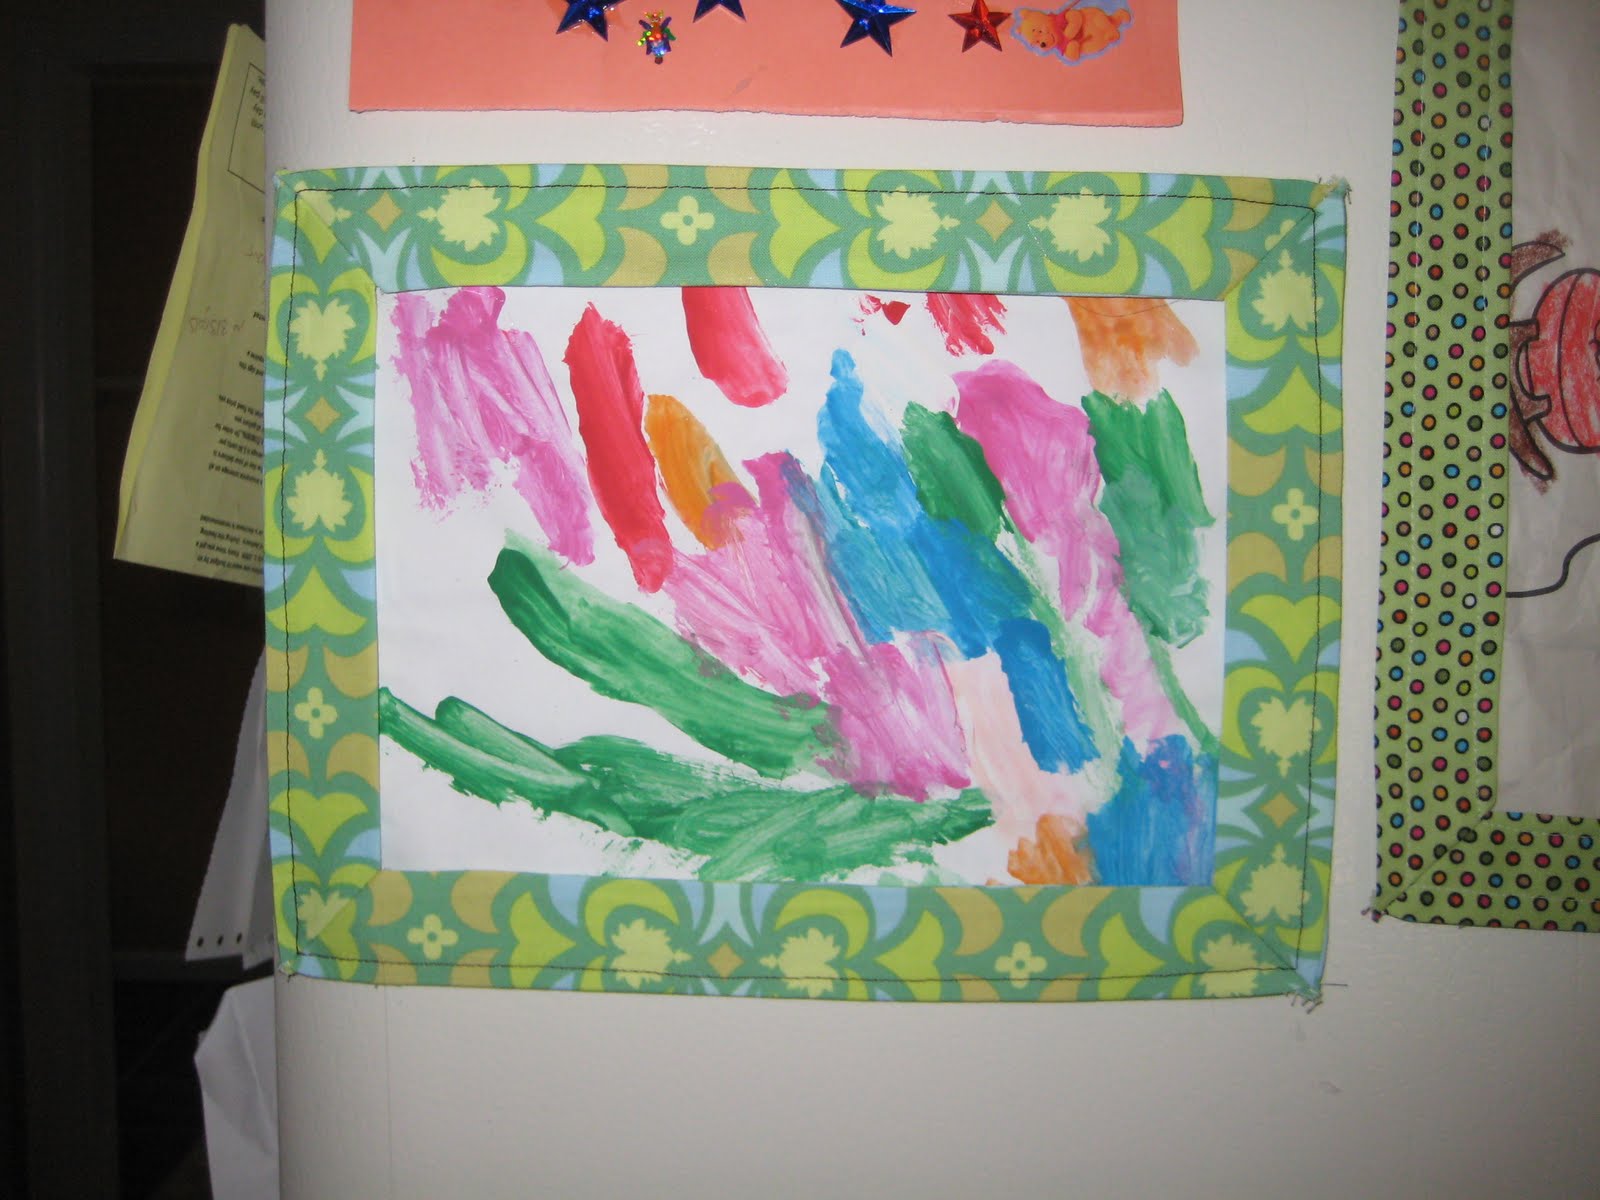
Your frame is ready to display! Just add artwork and you're ready to go. You can make these in any size, but keep in mind, the outside dimensions for this one are 8.5" x 11". If you want to make a 4x6 for a photo, your pieces need to be 7" x 9" to have the inside dimensions work. I'm not good at explaining the math, but trust me, I learned by screwing it up the first time!

What a great tutorial - a great way to use up scraps.
ReplyDeleteThanks for sharing - the photos are a great compliment to the directions!
Love this Ruby!!! I'll be making some as Grandparent gifts for sue! I only wish I had a magnetic fridge!
ReplyDeleteits brilliant its exactly what i was looking for my kids art thank u.
ReplyDeletevery interesting! an artwork with frame is much cooler than ones with magnet buttons
ReplyDelete